Forty cool nail design ideas — chrome, graphic, monochrome, and unexpectedly architectural. Photographed for your next set.
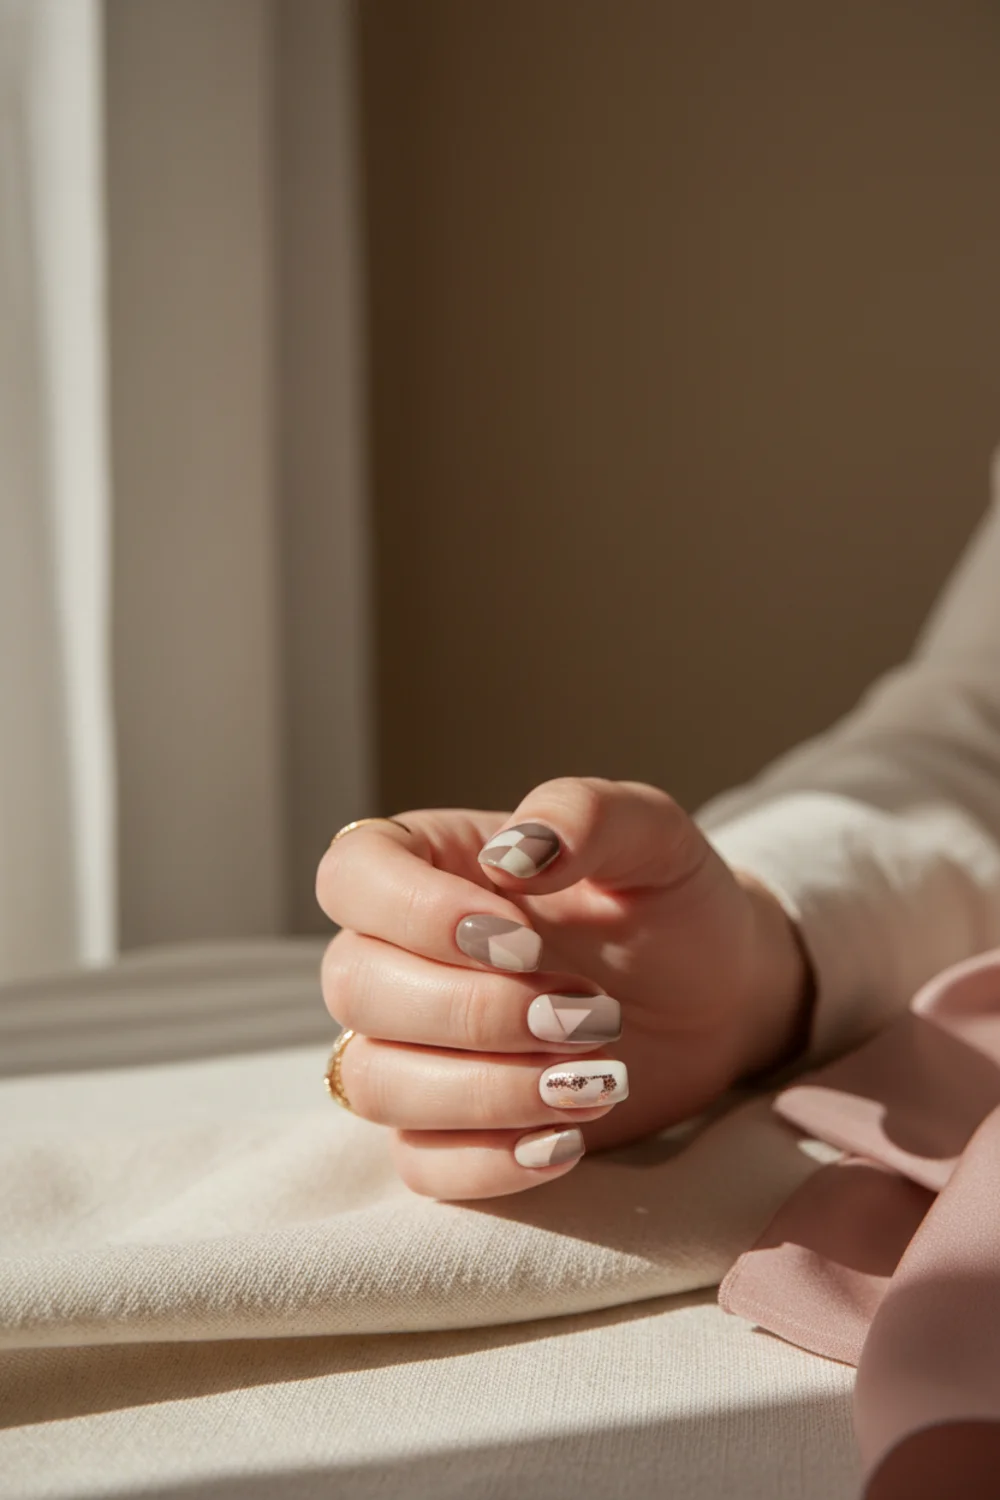
We measure cool nail design ideas by one metric: the moment a person walks past you, looks down at their phone, then looks up at your hand. The forty designs below all do that. They lean monochrome, architectural, slightly cold. Mirror chrome, jelly black, hand-drawn cobwebs. The polish picks favor finishes you can't buy at a drugstore — Mooncat, Aprilla, Manucurist — because the brand catalog matters. Everything is photographed at natural length or one millimeter over. Long sets read showy; these read considered.
What we're seeing across editorial nail desks for 2026 is a quieter set of cool nail design ideas — finishes that read soft in afternoon light, polish brands chosen for the chemistry as much as the color, and accent placement that respects the proportions of a natural hand. Betina Goldstein, Los Angeles editorial manicurist, summed it up in a recent dispatch: the best manicures hold their shape at six inches and six feet equally well.
1. Cloud Painted Over Chrome
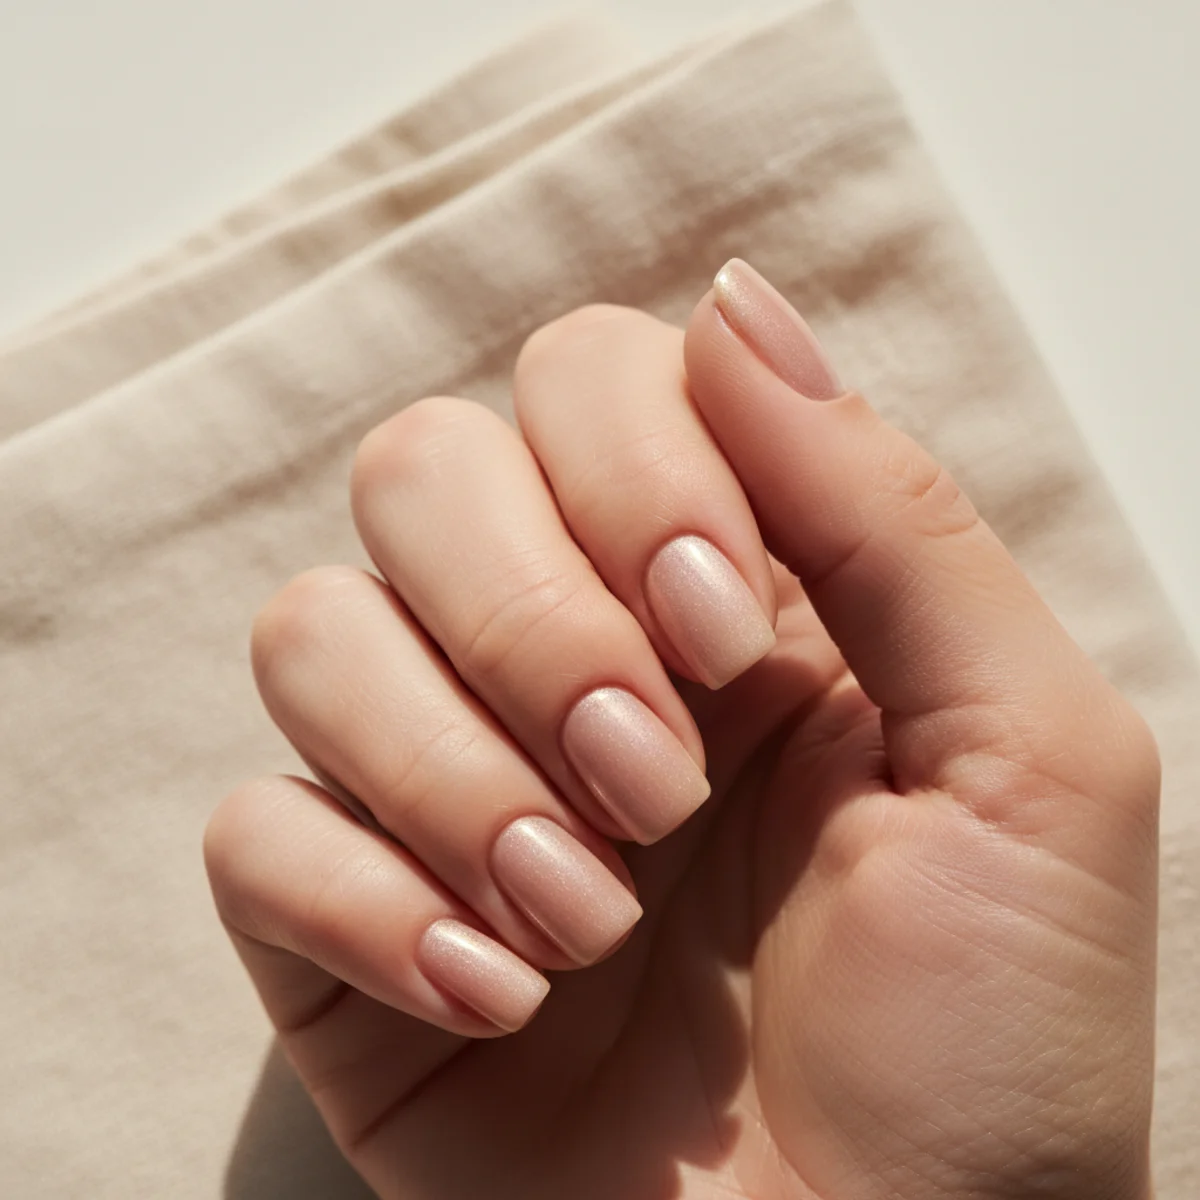
At the base of this entry sits soft white clouds floating on a sky-blue chrome base. Where this design lives or dies: tap the cloud edges with a sponge — never brush — which is the move that separates this look from a salon copy. Use a pH bonder during prep — over-buffing for grip will thin the natural nail bed within six months of repeated wear.
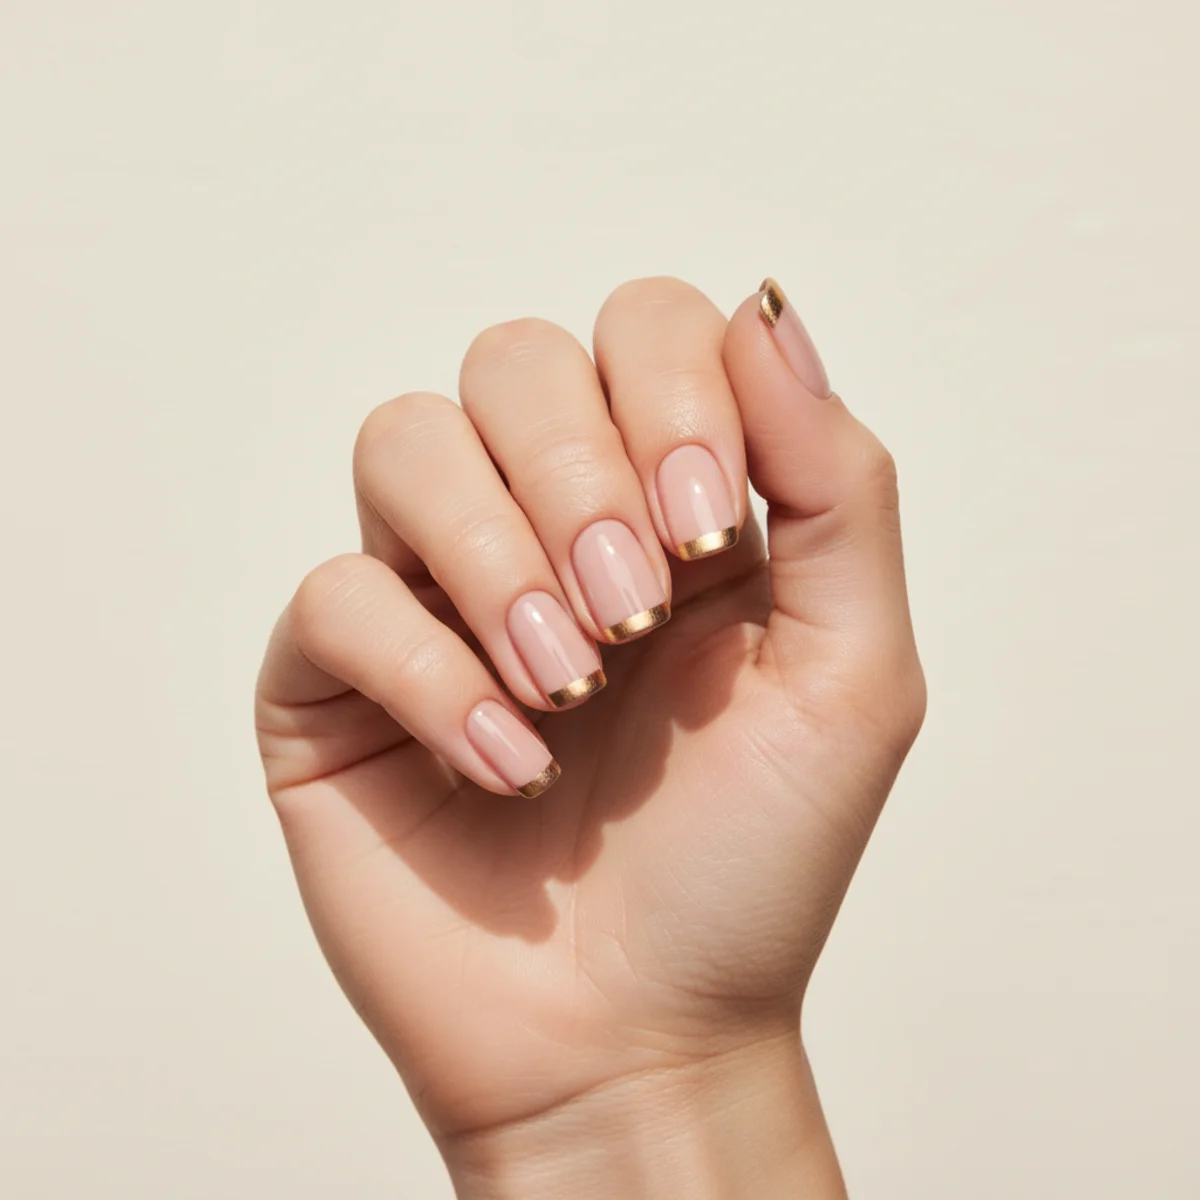
2. Pearl-Set Half French
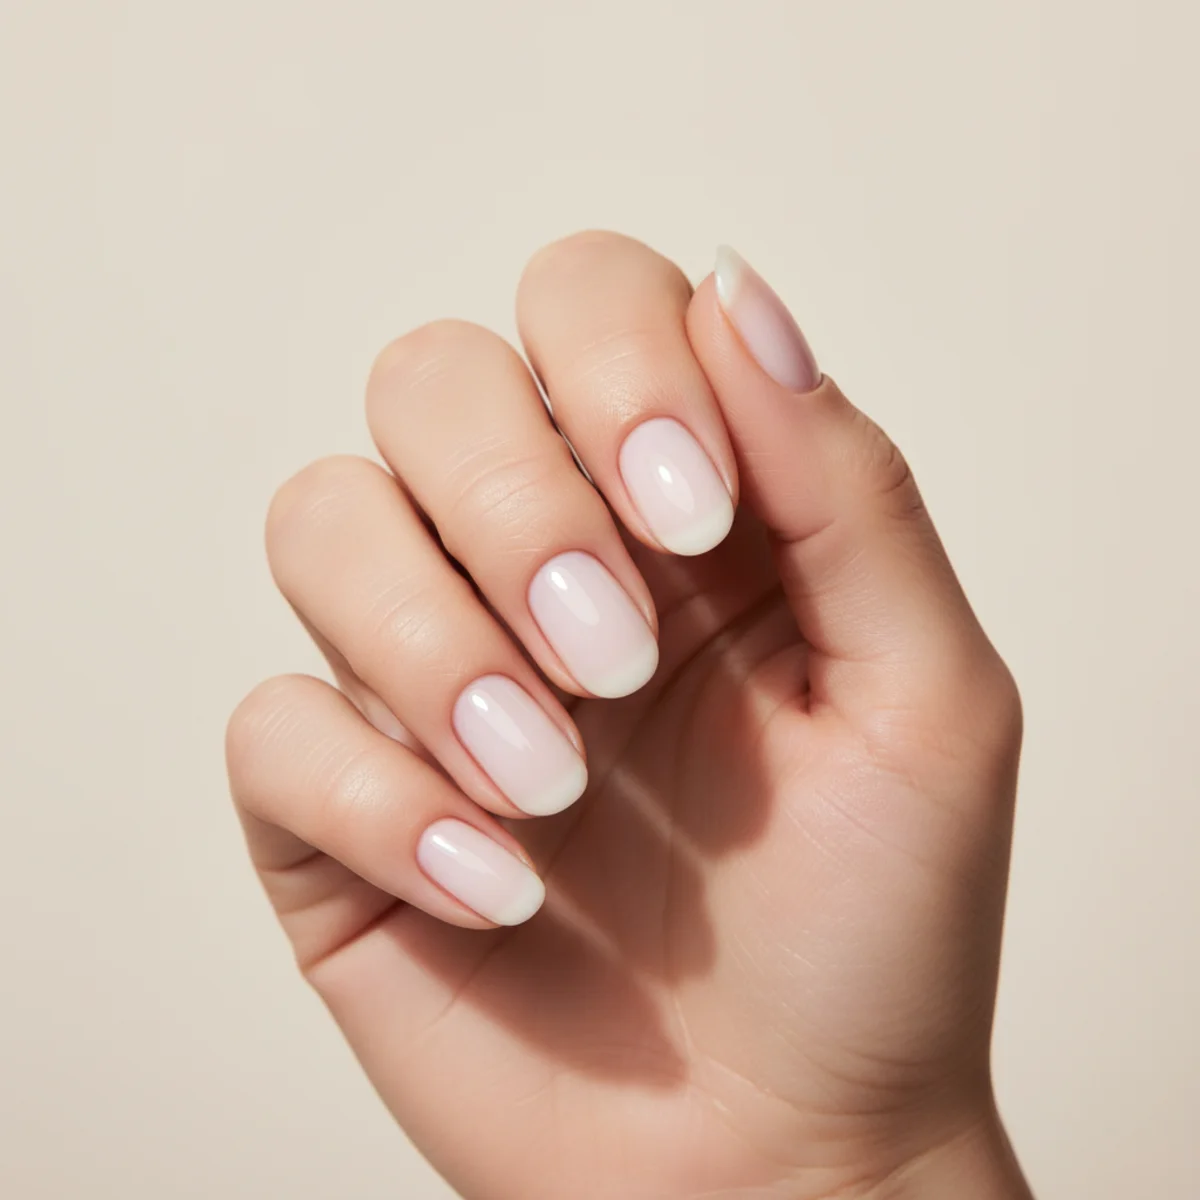
This one is built from a row of micro pearls replacing the smile line entirely. What matters in execution: Sojin Oh popularized this; the pearls are flatback, not 3D — and that's the single thing most home attempts get wrong. Drops the chunky-ring vibe and reads cleaner against fine bands.
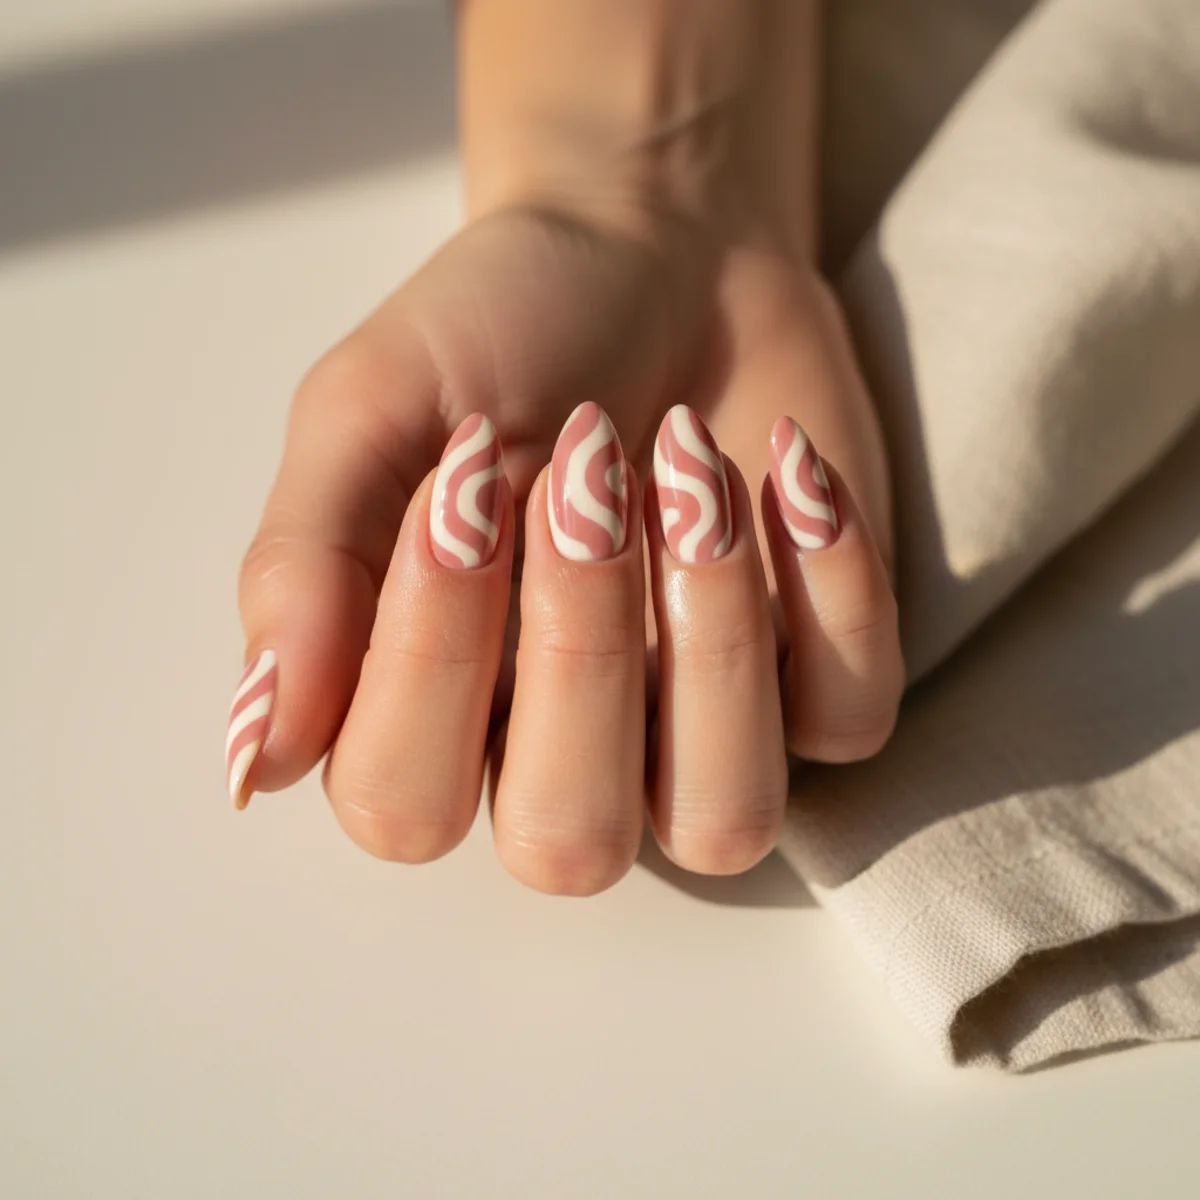
3. Hand-Painted Wave
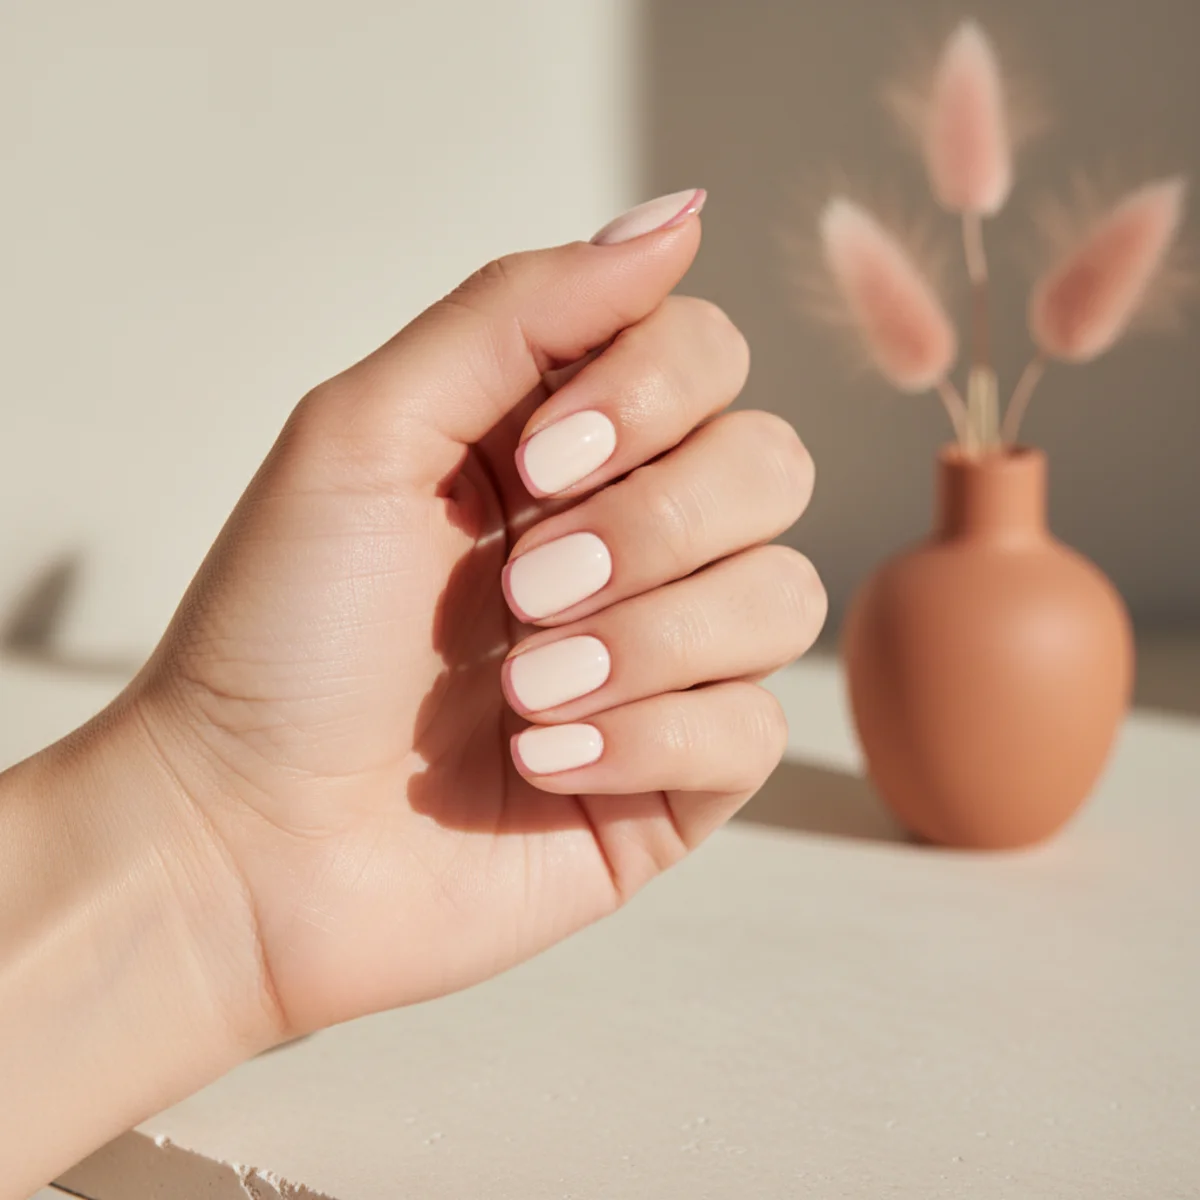
The build: a single hand-painted wave across two adjacent nails. The single thing most home attempts get wrong: Mei Kawajiri's cross-finger style — the wave must align perfectly — and that placement is what makes the whole composition work. If you're going to do this at home, prep the nail with a 240 grit buffer in one direction only.
4. Lace Overlay Print
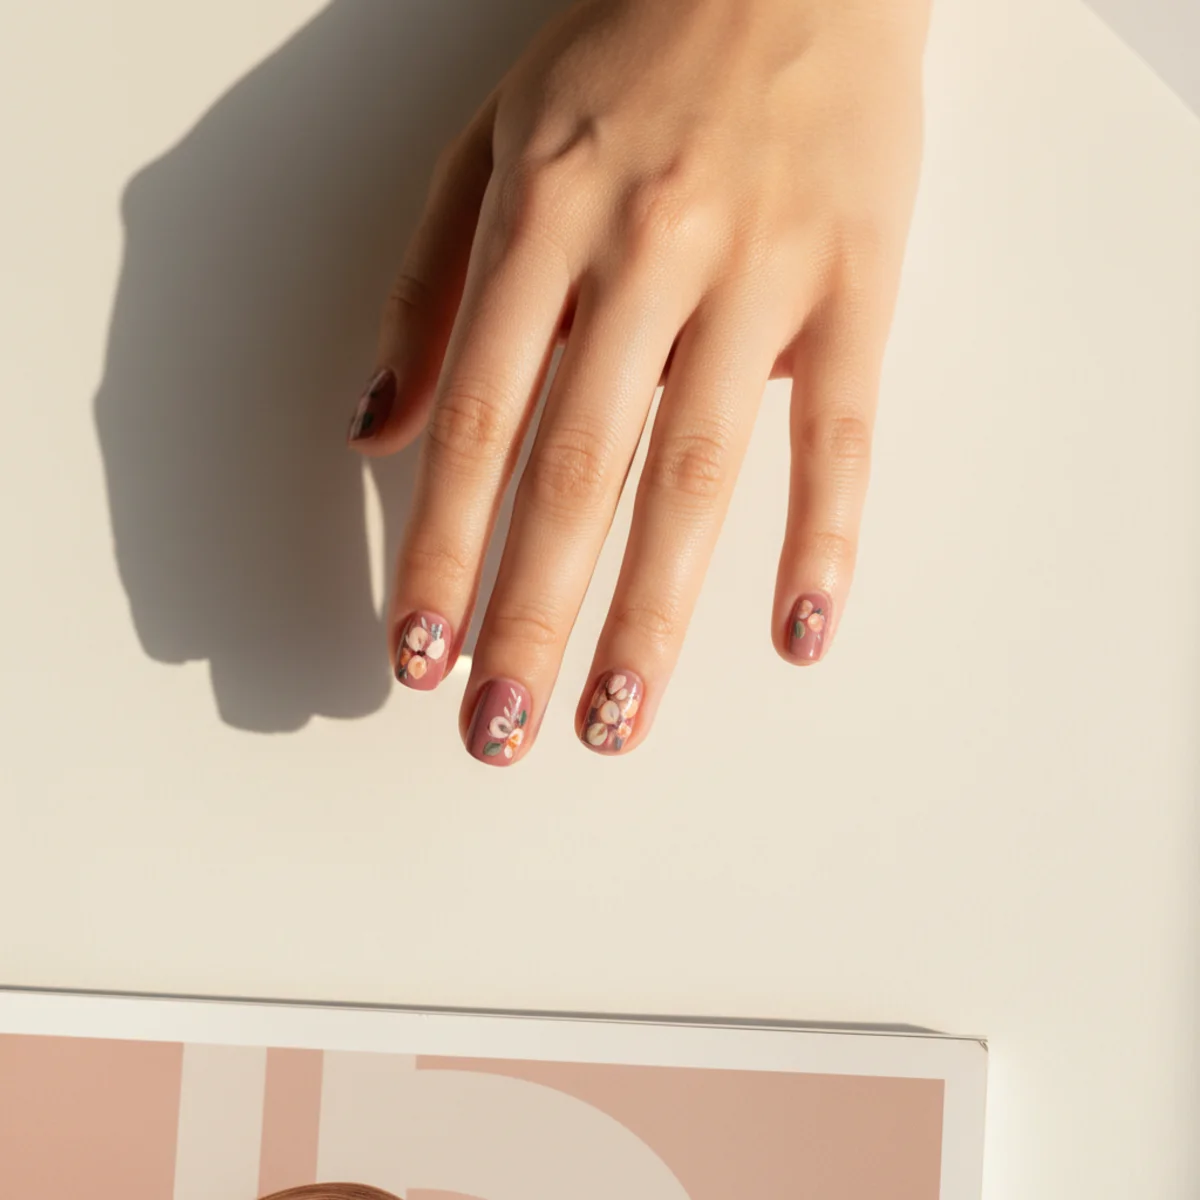
The recipe behind this design: a hand-painted lace pattern over a sheer nude. What matters in execution: Jin Soon Choi's lace looks read editorial; stamped lace reads cheap — which holds up at the close-up Pinterest crop better than most. Suits the quiet-luxury aesthetic Sojin Oh popularized at Olive & June throughout 2025.
5. 3D Pearl Encasement
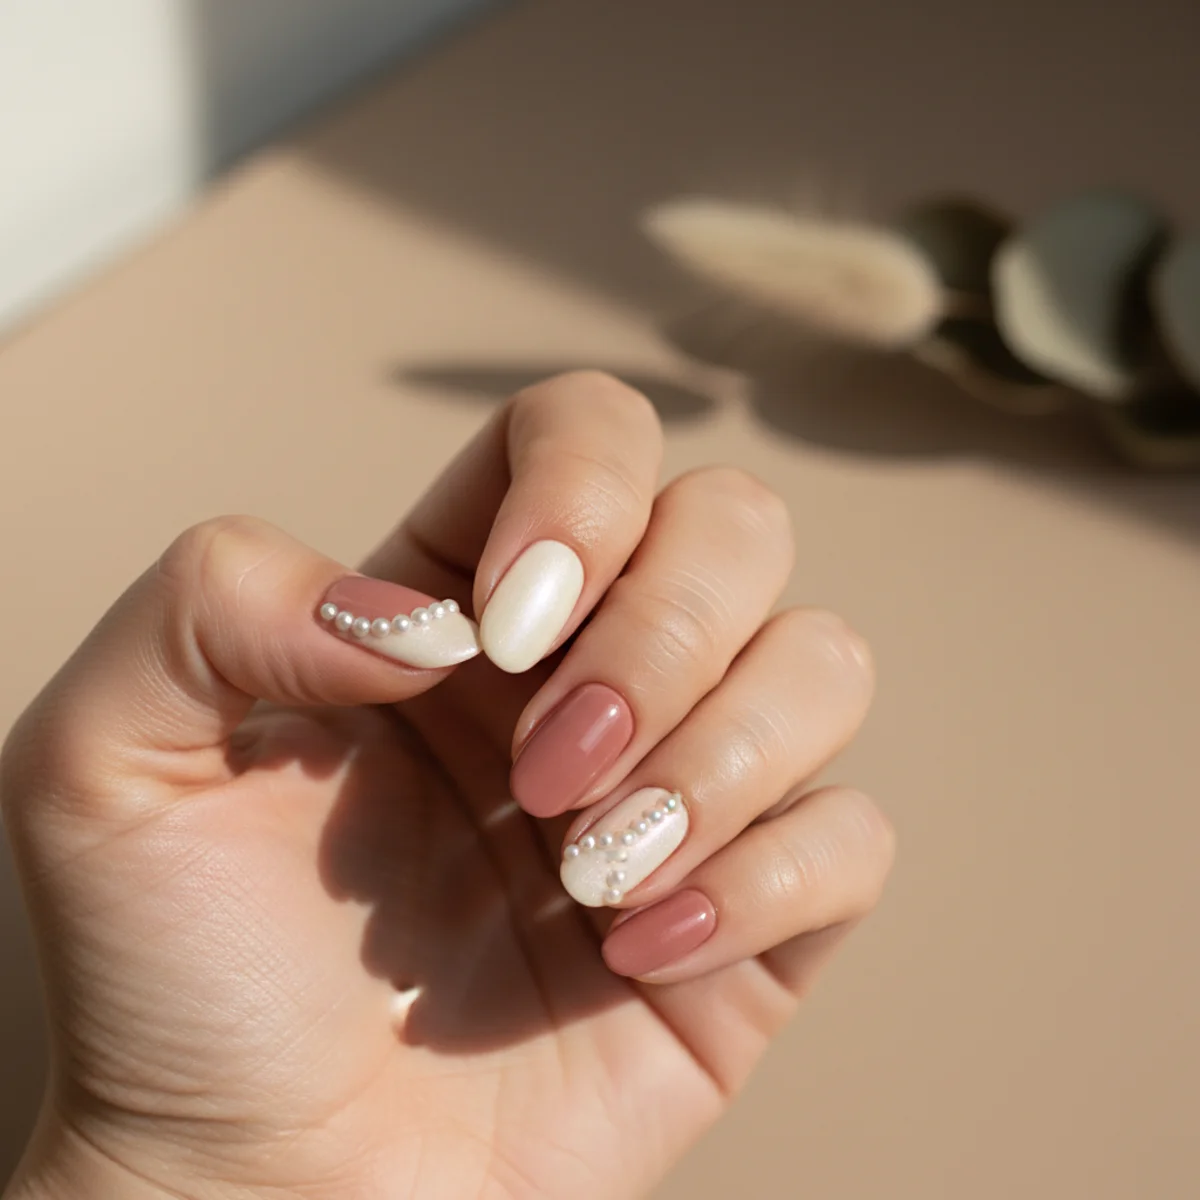
Recipe: milky pink base with a single 3D pearl sealed inside builder gel. What matters in execution: the encasement creates depth no top coat alone can match — and that's the single thing most home attempts get wrong. Best paired with warm-toned jewelry — gold or champagne metals — against the cream of the polish base.
6. Aurora Encasement
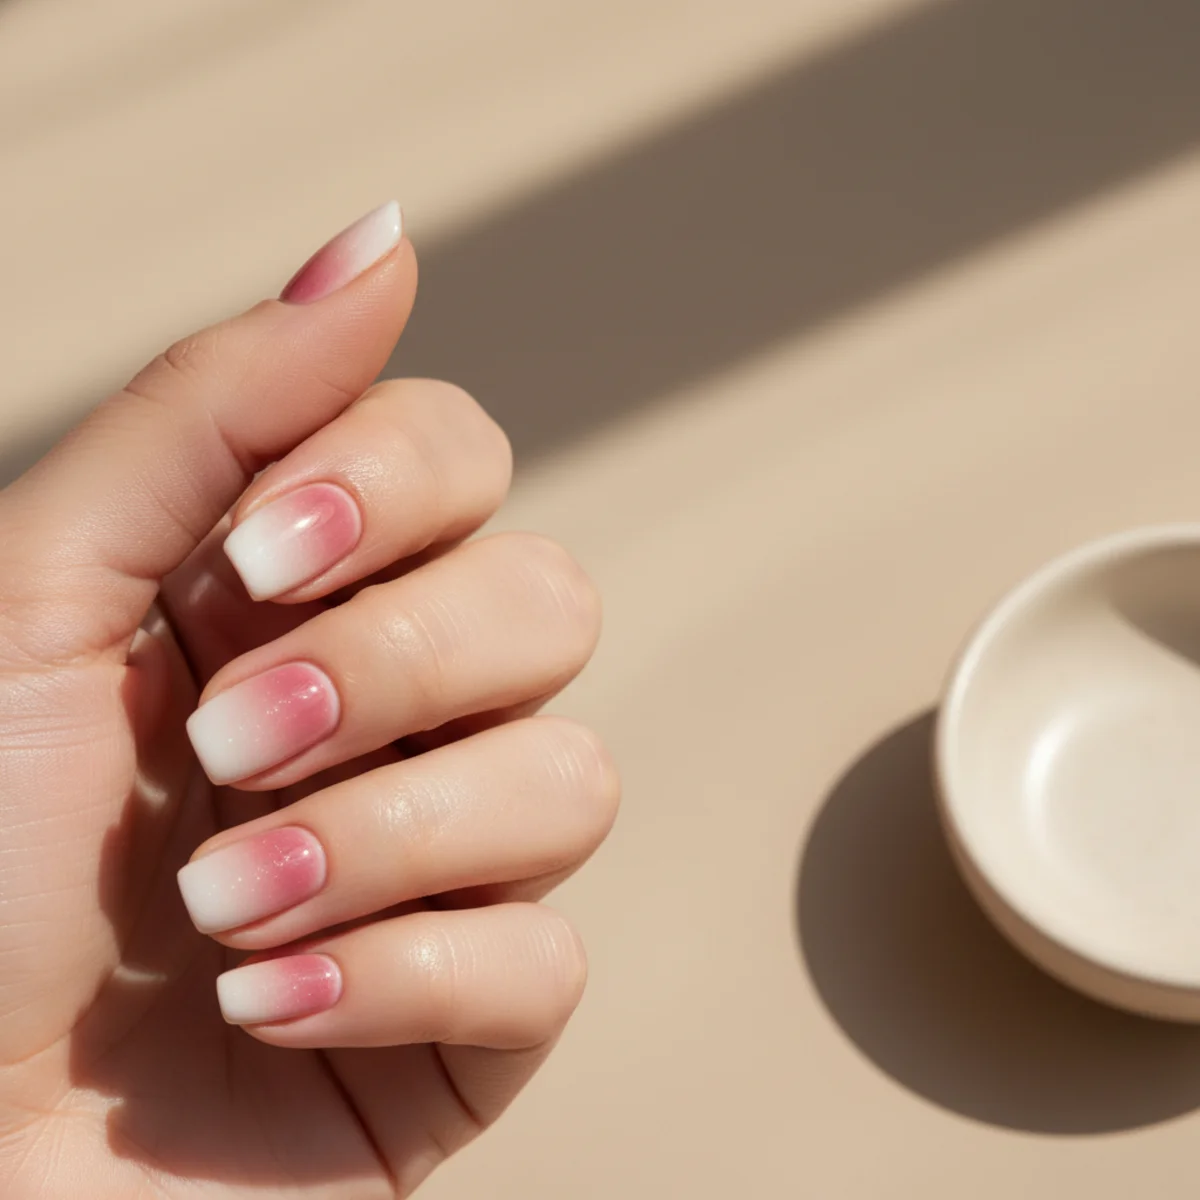
The recipe behind this design: iridescent flakes sealed under two layers of builder gel for depth. The technique note that separates this from a copycat: the flakes are placed wet-on-wet between layers — which holds up at the close-up Pinterest crop better than most. Especially photographable in late afternoon, when the light catches the finish at a low angle.
7. Sculpted Pearl Drop
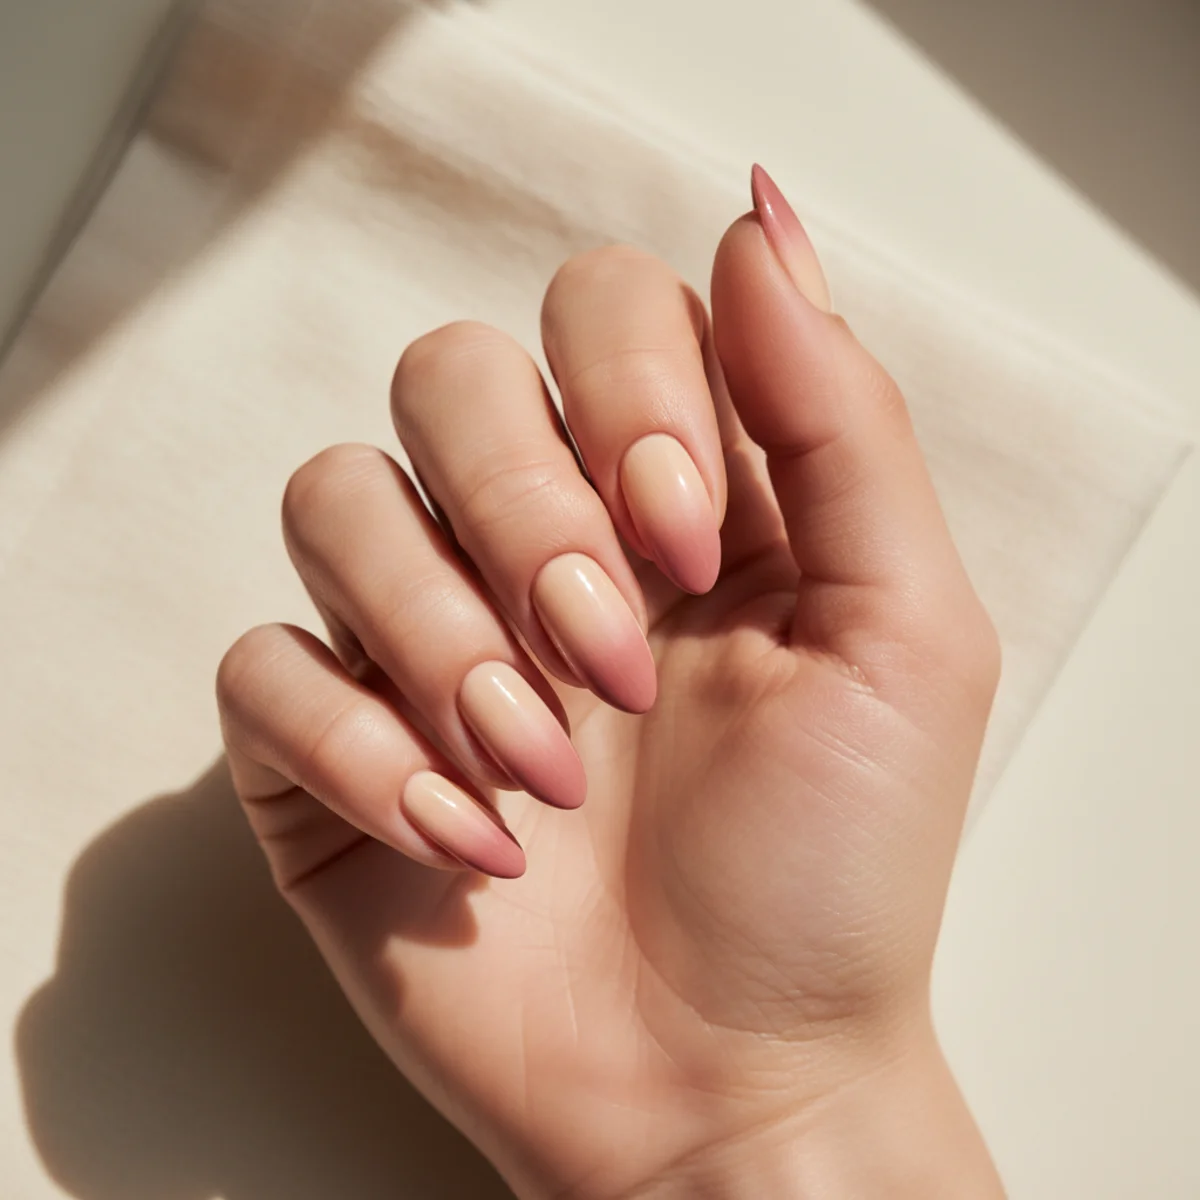
Recipe: a teardrop pearl built up in 3D at the base of the nail. The single thing most home attempts get wrong: Eri Ishizu's signature — the drop requires a Gel-X extension underneath — and that placement is what makes the whole composition work. Best paired with warm-toned jewelry — gold or champagne metals — against the cream of the polish base.
8. Negative-Space Cobweb
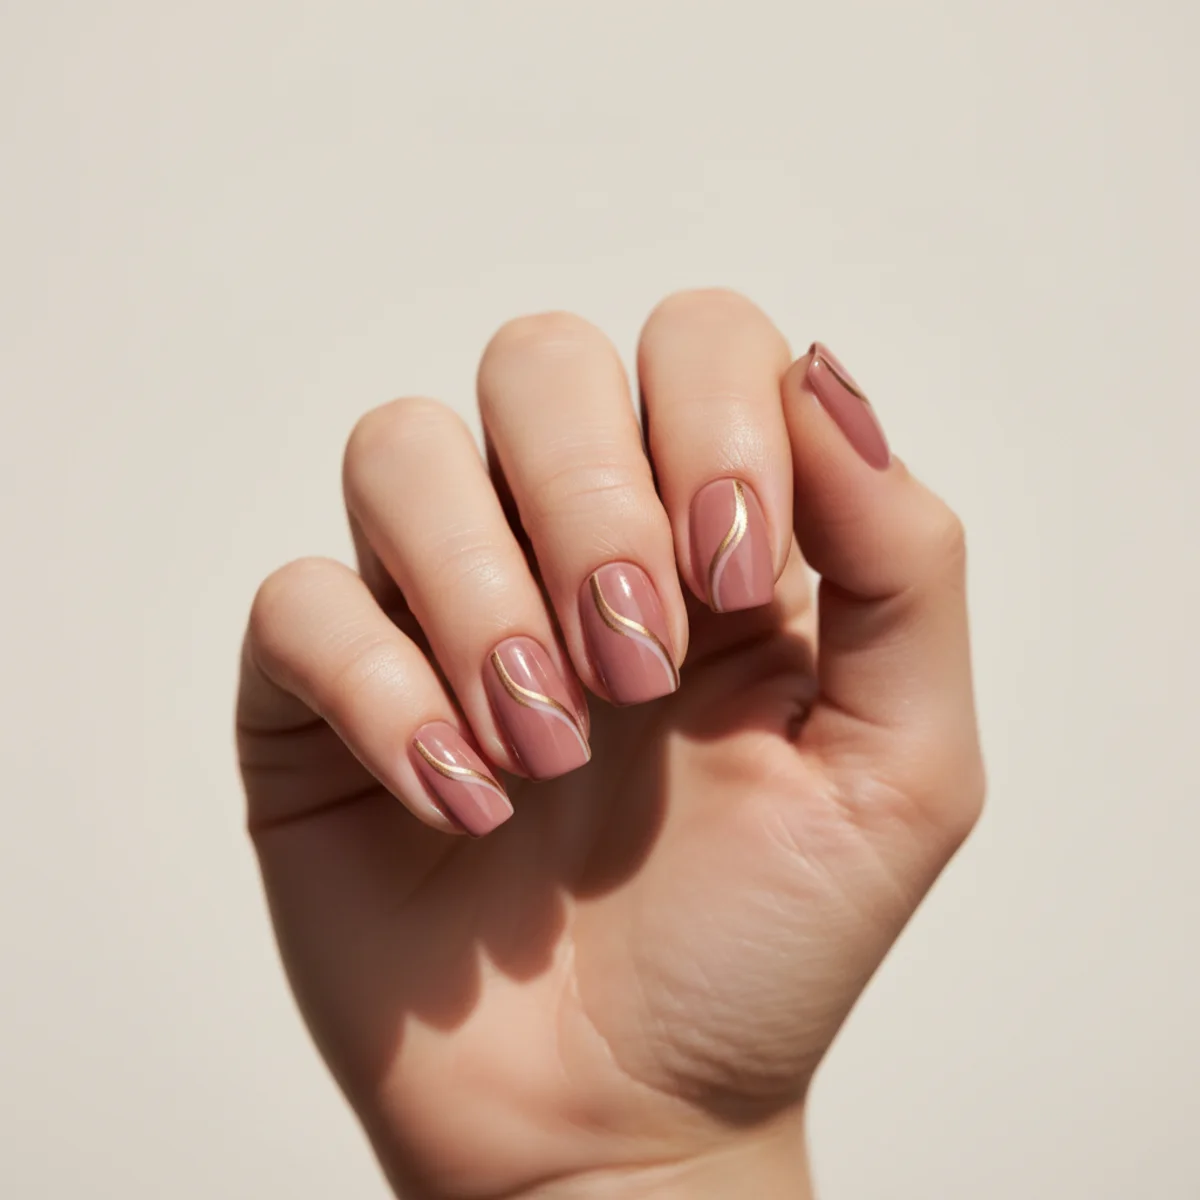
Here, the base is a clear base with one painted spider-web line. The single thing most home attempts get wrong: Betina Goldstein invented this look for Vogue — and that's the single thing most home attempts get wrong. Photographs best on a textured surface like raw linen, unglazed ceramic, or a single thread of cream silk.
9. Hand-Painted Yin Yang
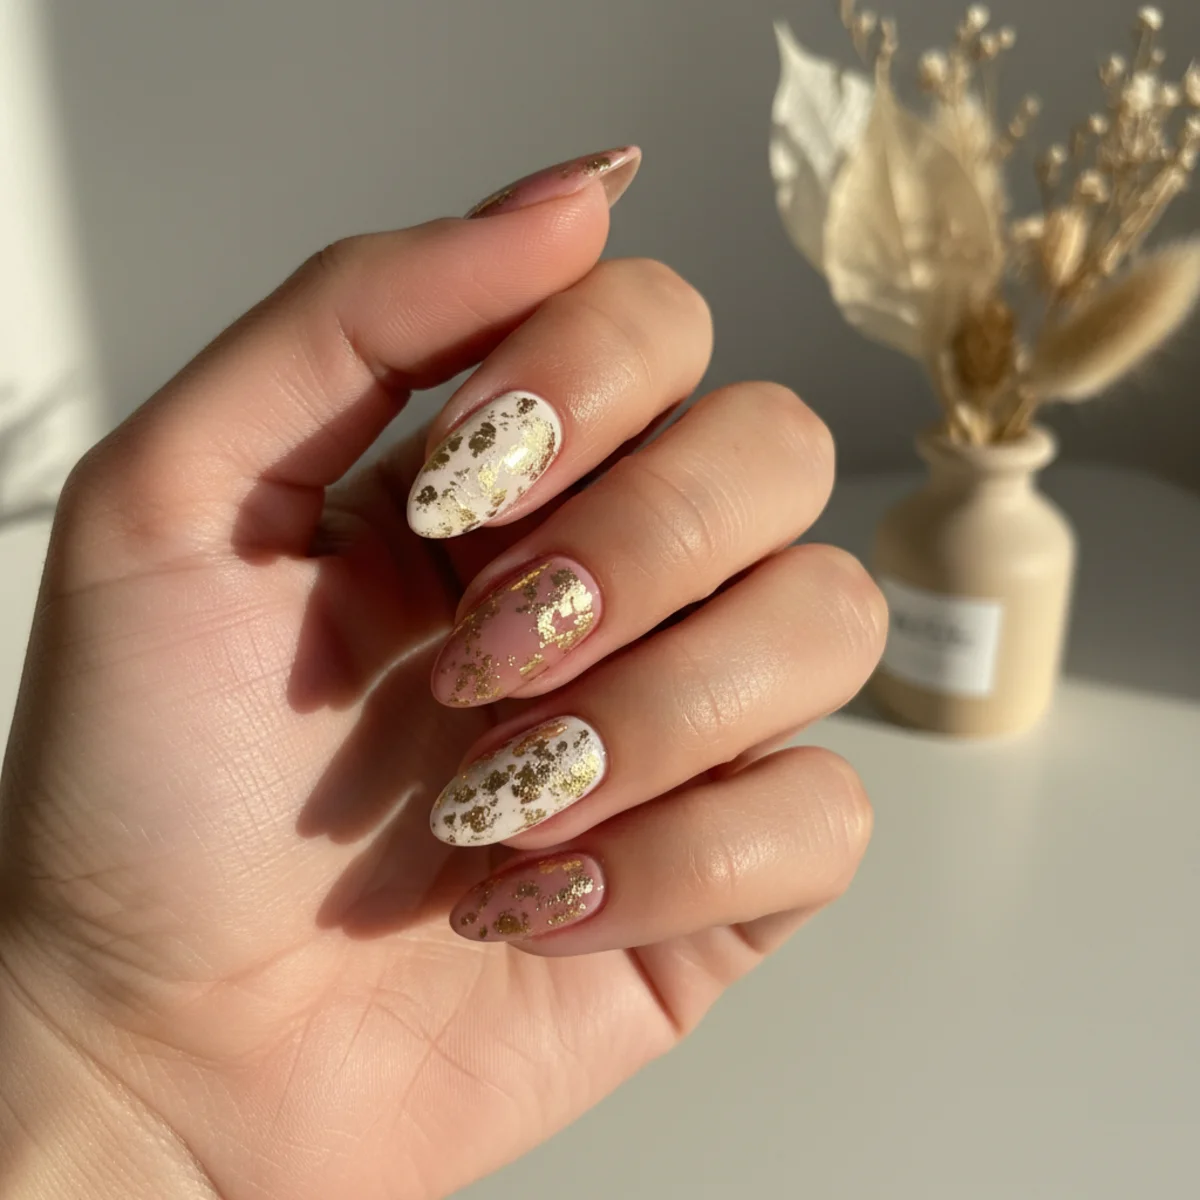
Here, the base is a black-and-white yin yang centered on a single accent finger. The technique note that separates this from a copycat: the dots inside each side need a 00 detail brush — and that placement is what makes the whole composition work. Wear with caution if you type for a living — the finish takes the most stress at the index and middle fingertips.
10. Half-Moon Negative Space
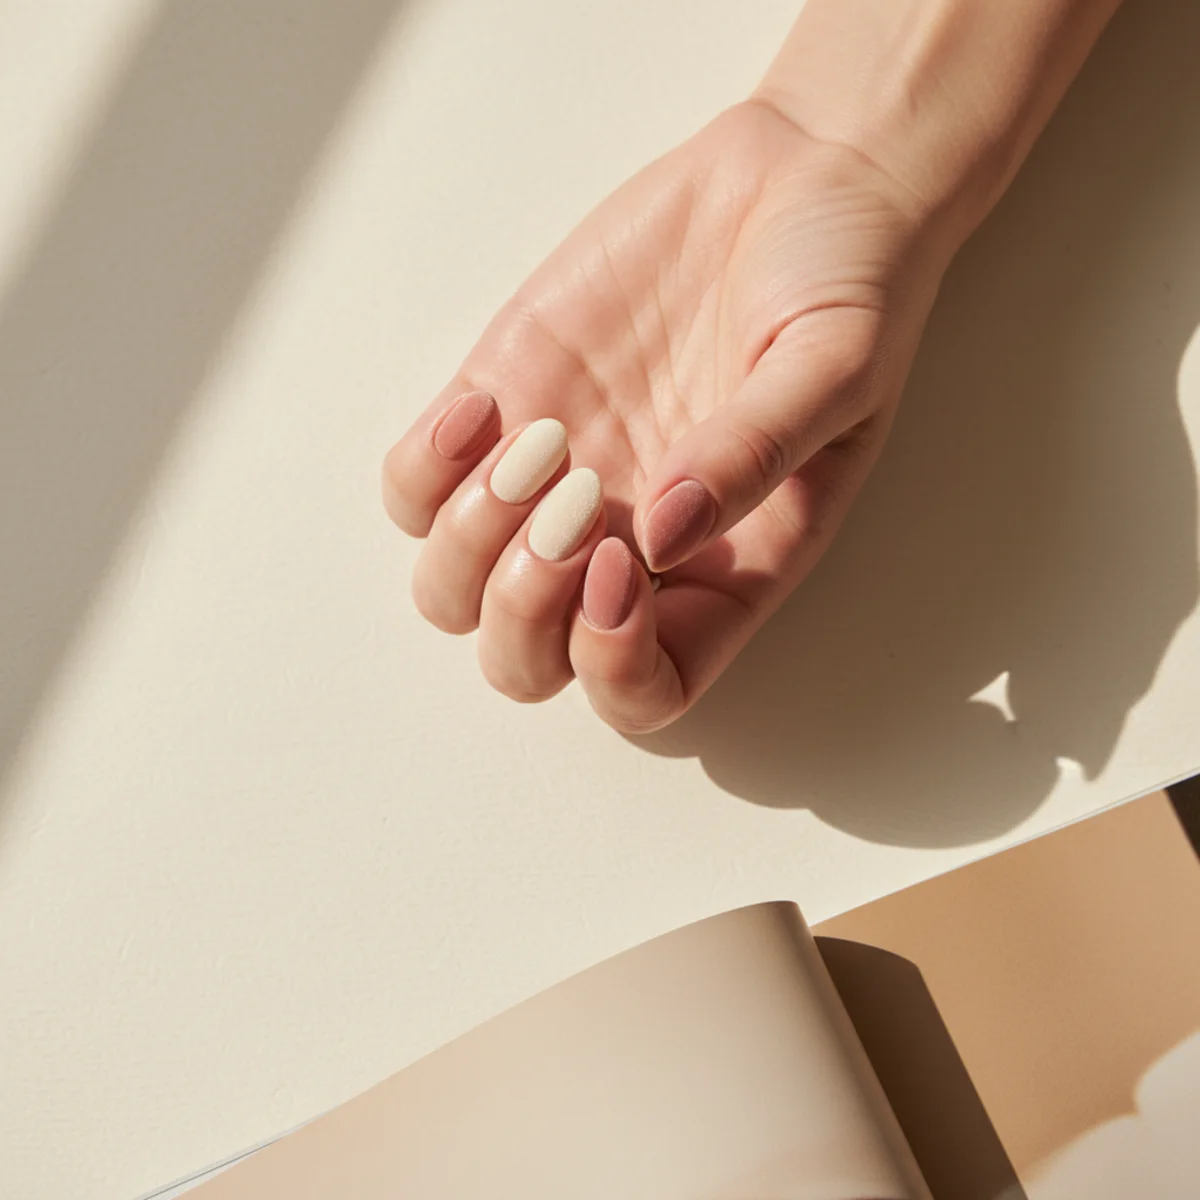
Recipe: natural nail at the base, color from the smile line out. What to watch on application: the natural nail bed is buffed clean for visual cleanness — which is the move that separates this look from a salon copy. Suits the quiet-luxury aesthetic Sojin Oh popularized at Olive & June throughout 2025.
11. Velvet Magnetic Burgundy
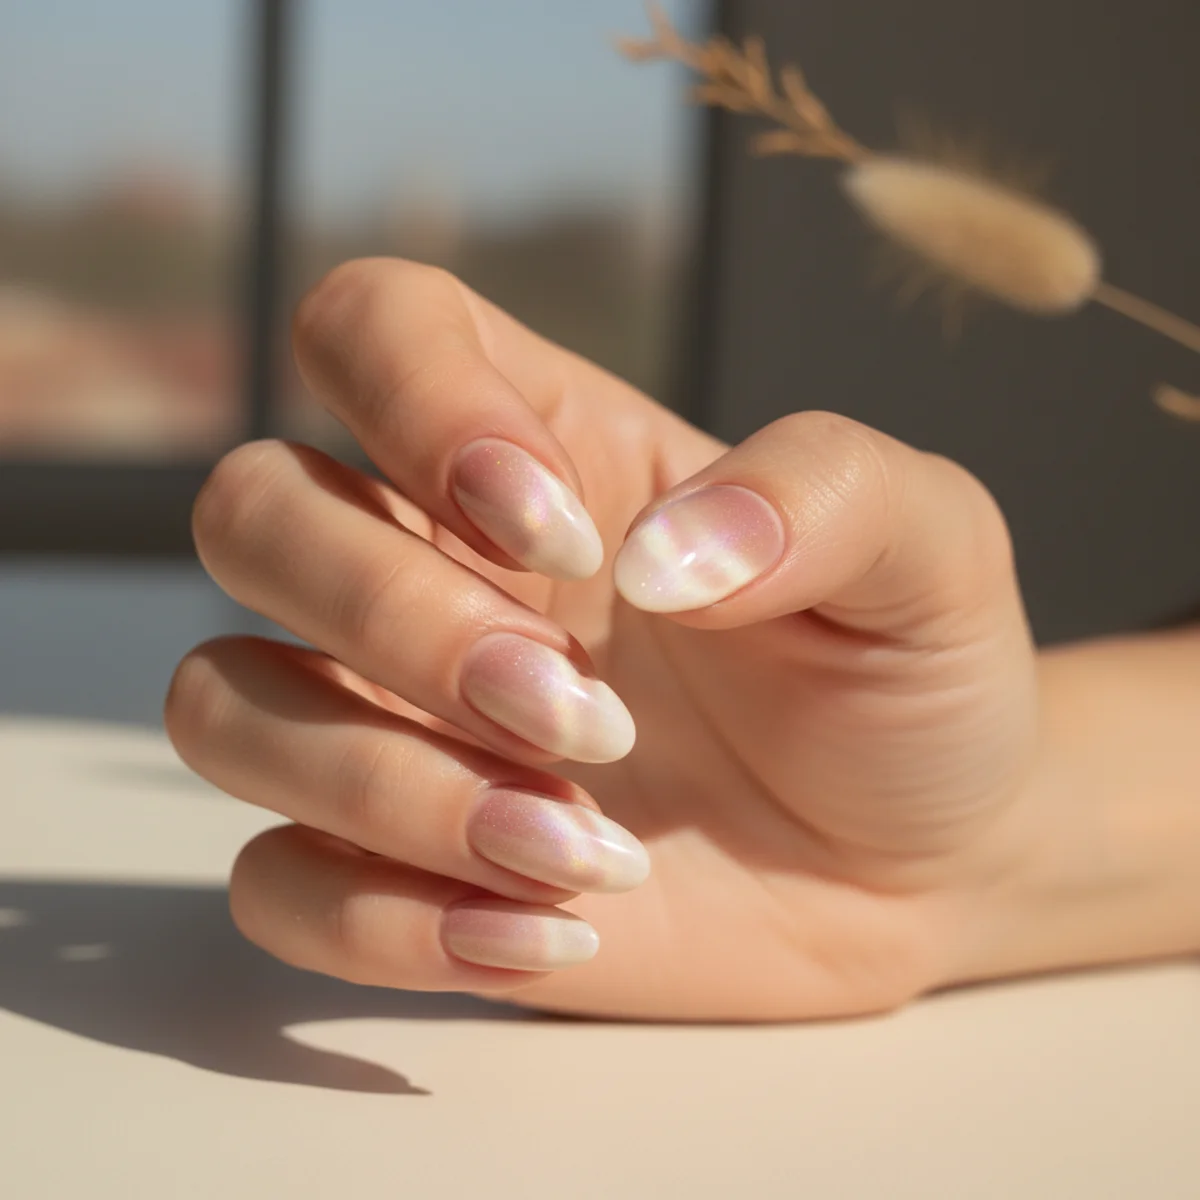
The build: deep wine with magnetic velvet effect. What to watch on application: Aprilla's Magnetic Aurora collection contains the original — and it's the detail that makes this design read editorial rather than novelty. Especially photographable in late afternoon, when the light catches the finish at a low angle.
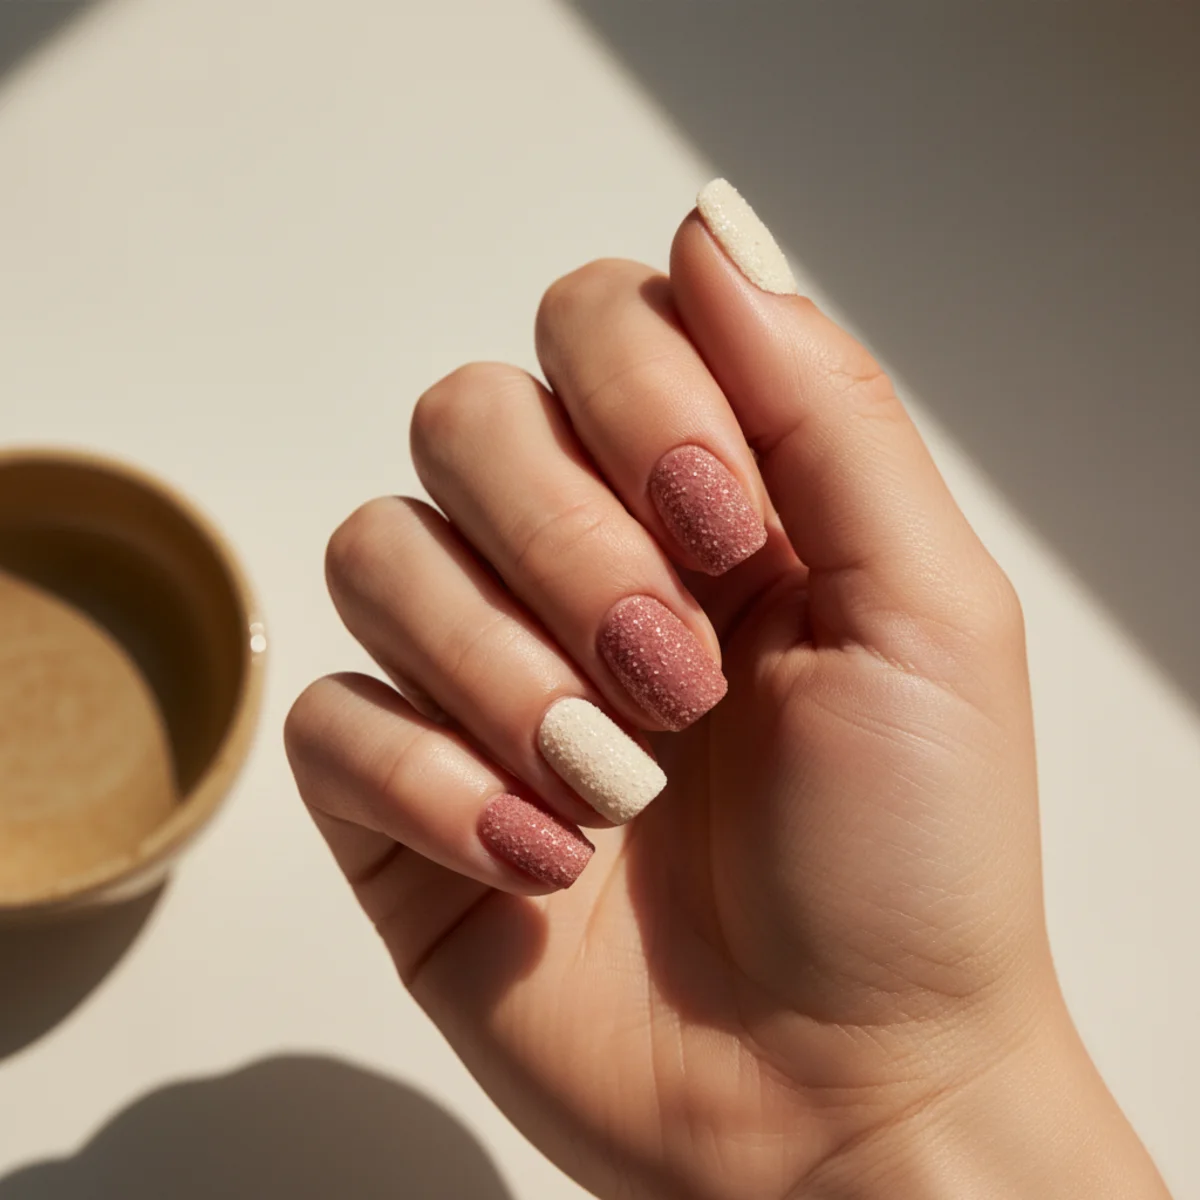
12. Sugar Sand Texture
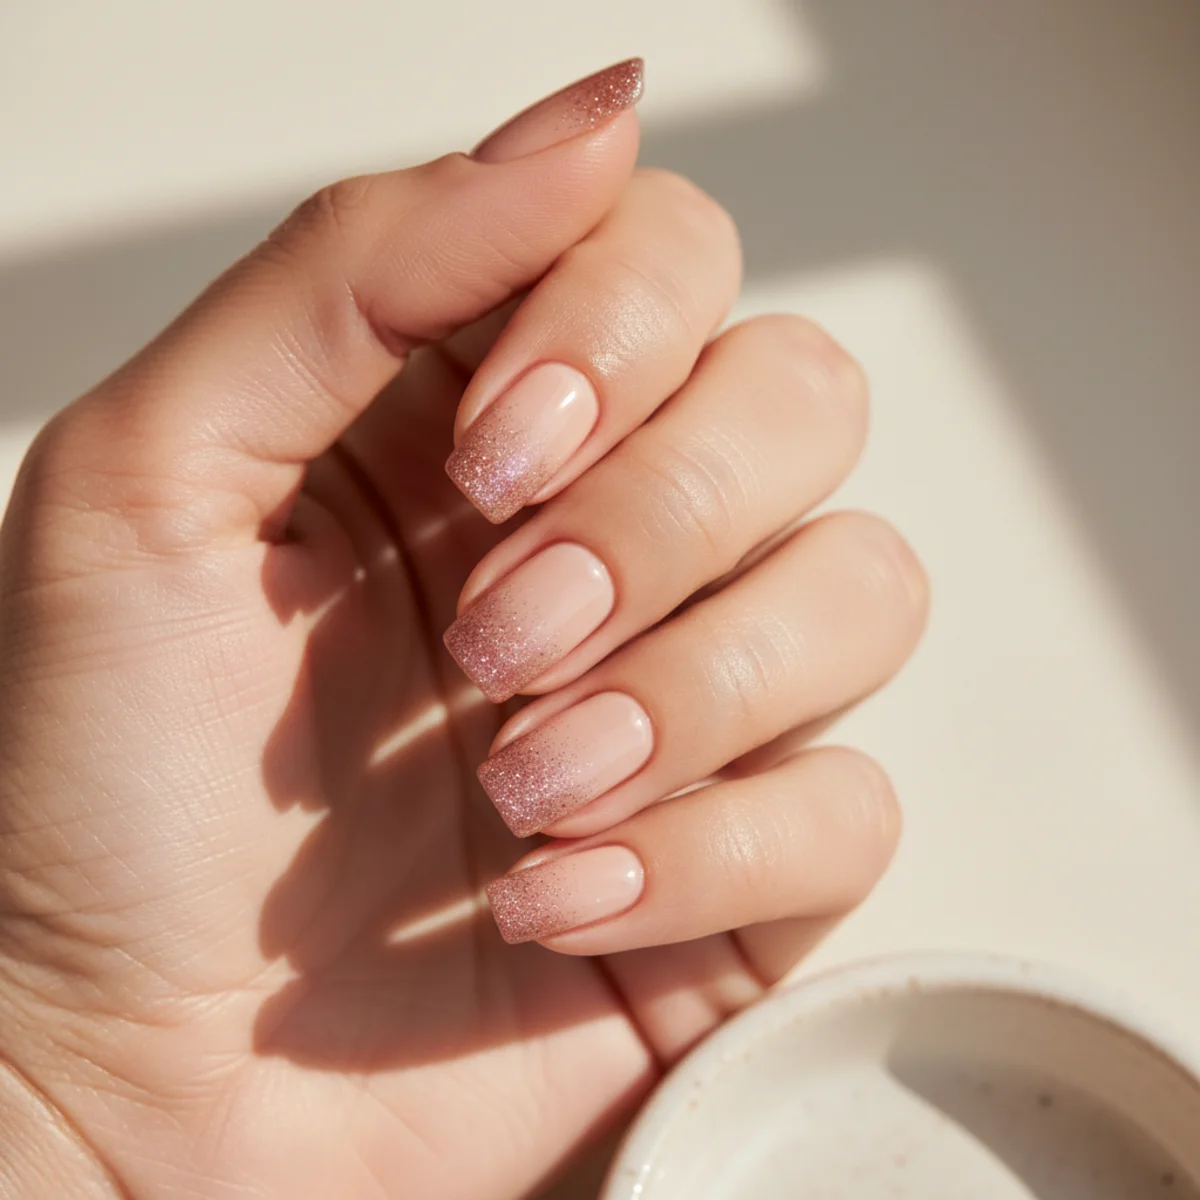
At the base of this entry sits a deeply textured matte finish that mimics sand. The technique note that separates this from a copycat: Gelish Sugar Effect is the closest pre-formulated finish — and that's the single thing most home attempts get wrong. Best done after a full manicure rather than as a one-off — the prep work makes or breaks the wear time.
Where chrome lives
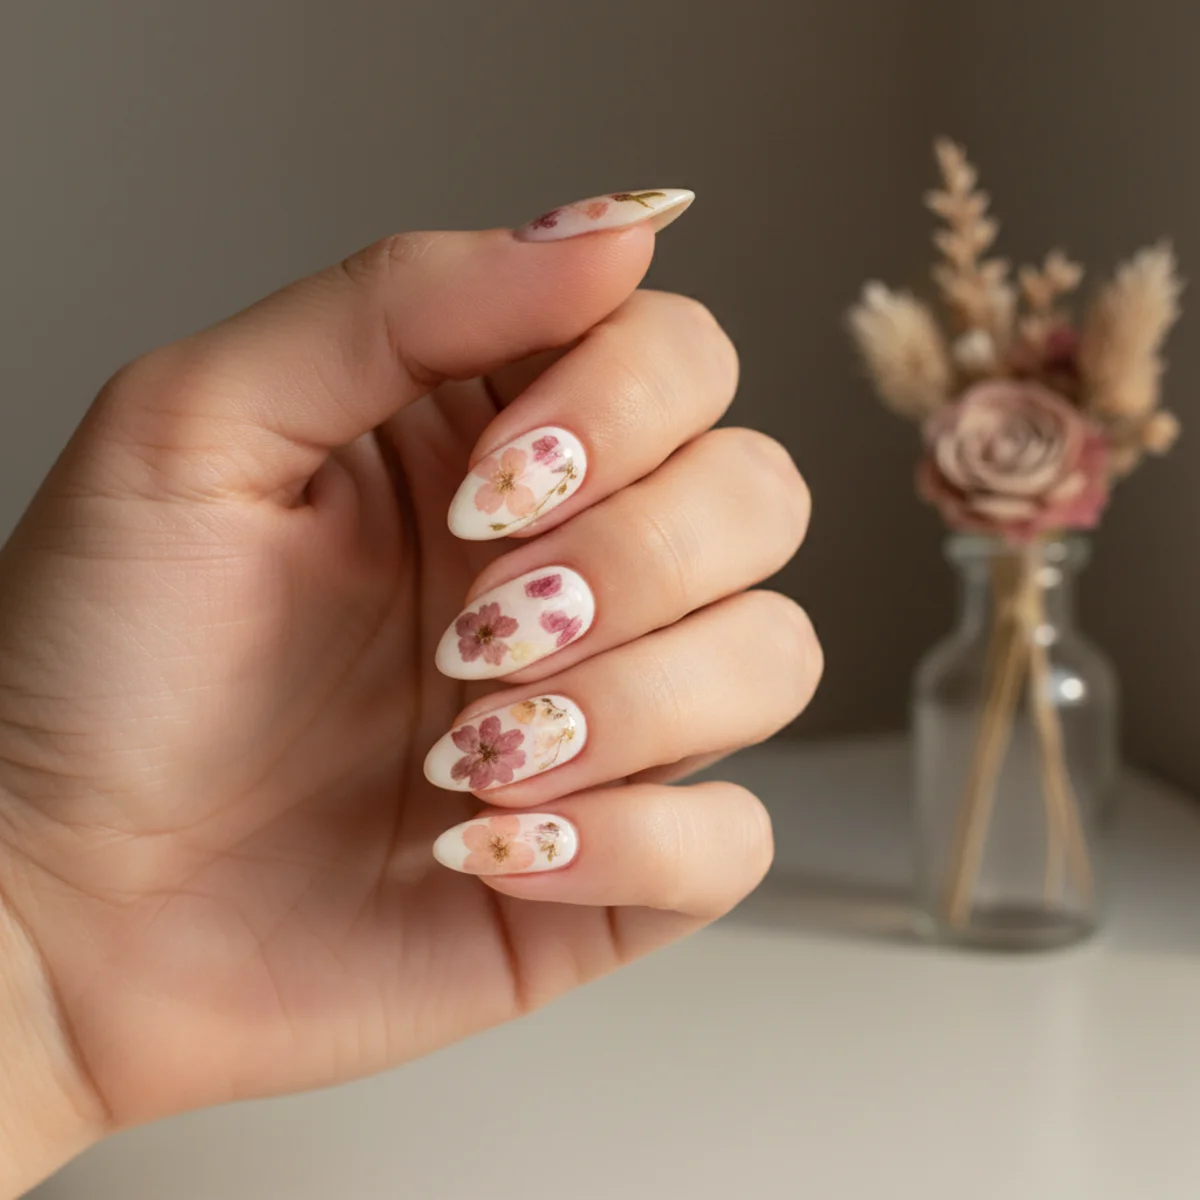
13. Sculpted 3D Florist Bouquet
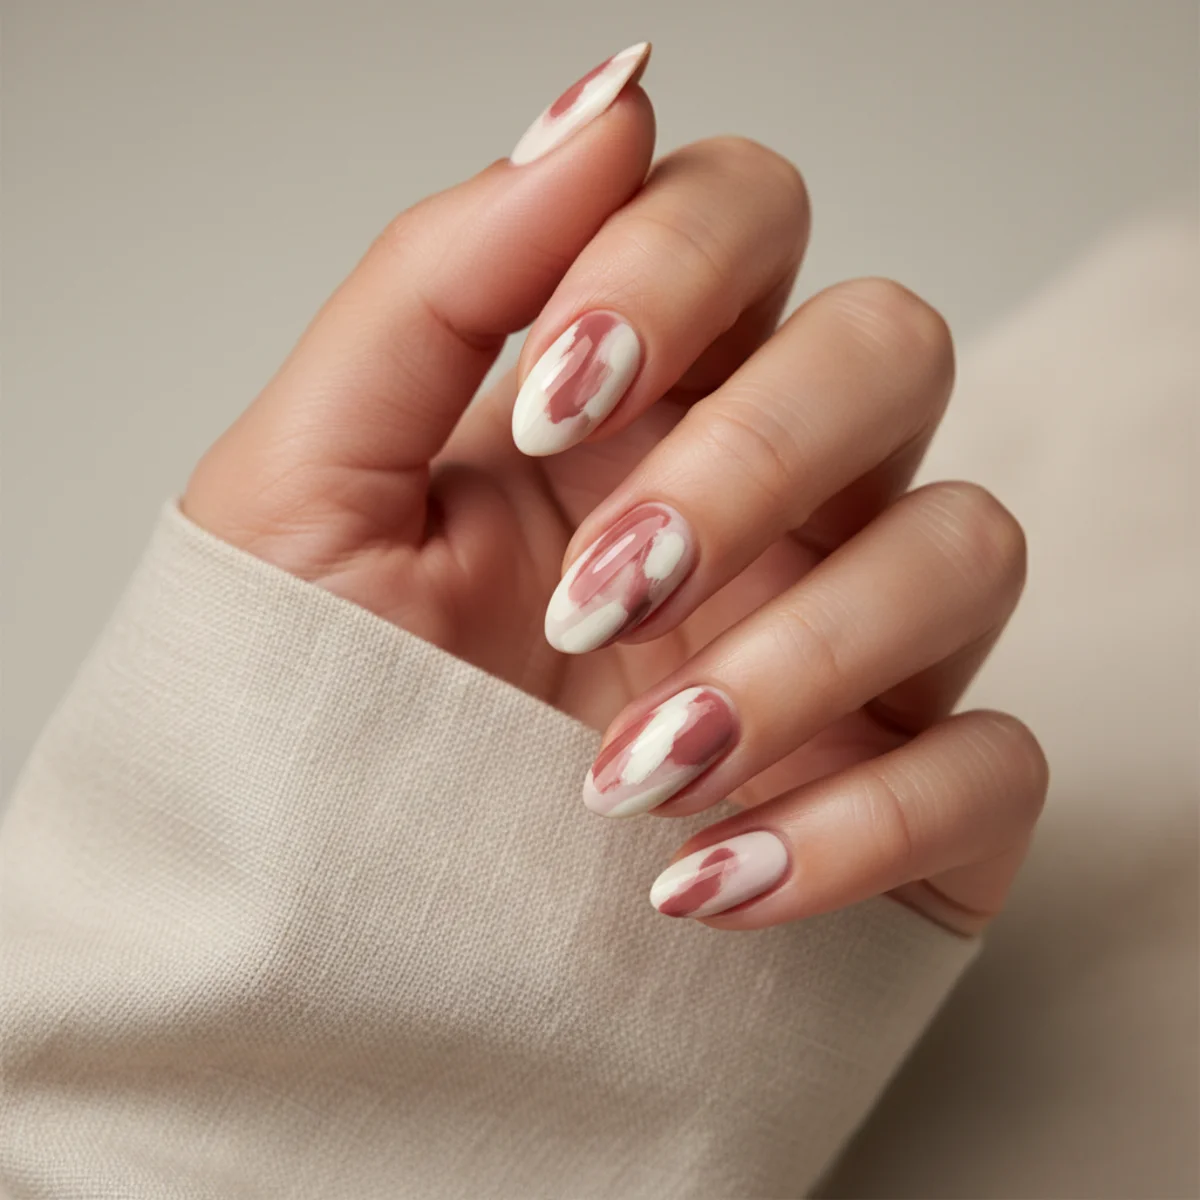
At the base of this entry sits an accent finger built up as a sculpted floral arrangement. Where this design lives or dies: Mei Kawajiri's bouquet nails require an Apres extension — and that's the single thing most home attempts get wrong. Drops the chunky-ring vibe and reads cleaner against fine bands.
14. Negative-Space Cobweb Accent
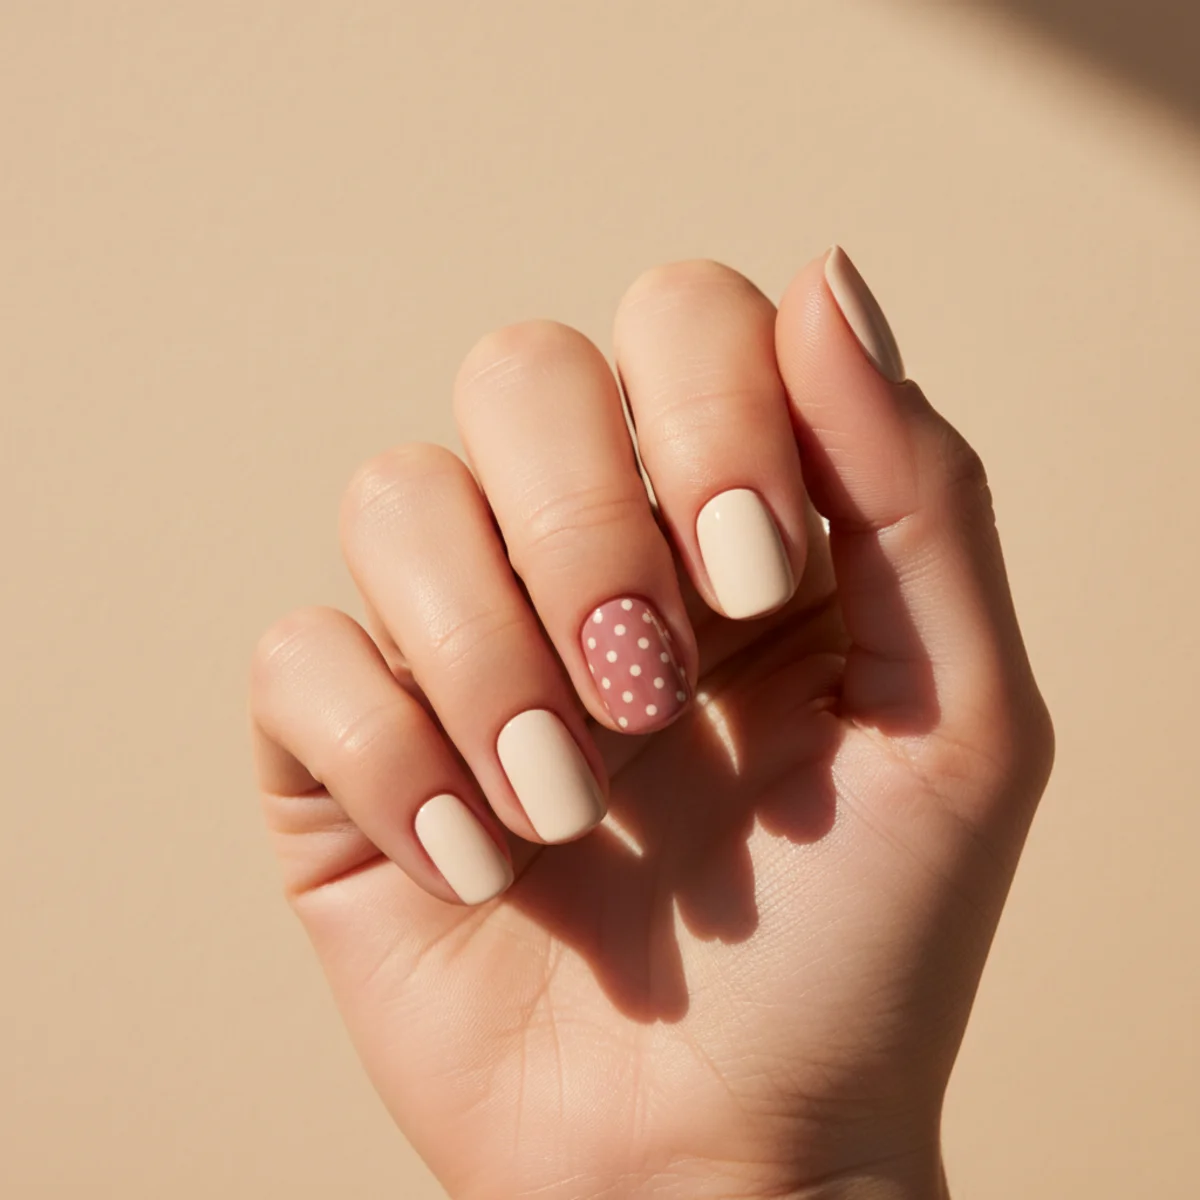
The recipe behind this design: a single hand-drawn cobweb line across one nail. Where this design lives or dies: the drawing must be uneven — even reads stamped — which is the move that separates this look from a salon copy. Skip the cuticle oil for the first 12 hours after cure or the finish can soften at the edges.
15. 3D Bow With Trailing Ribbon
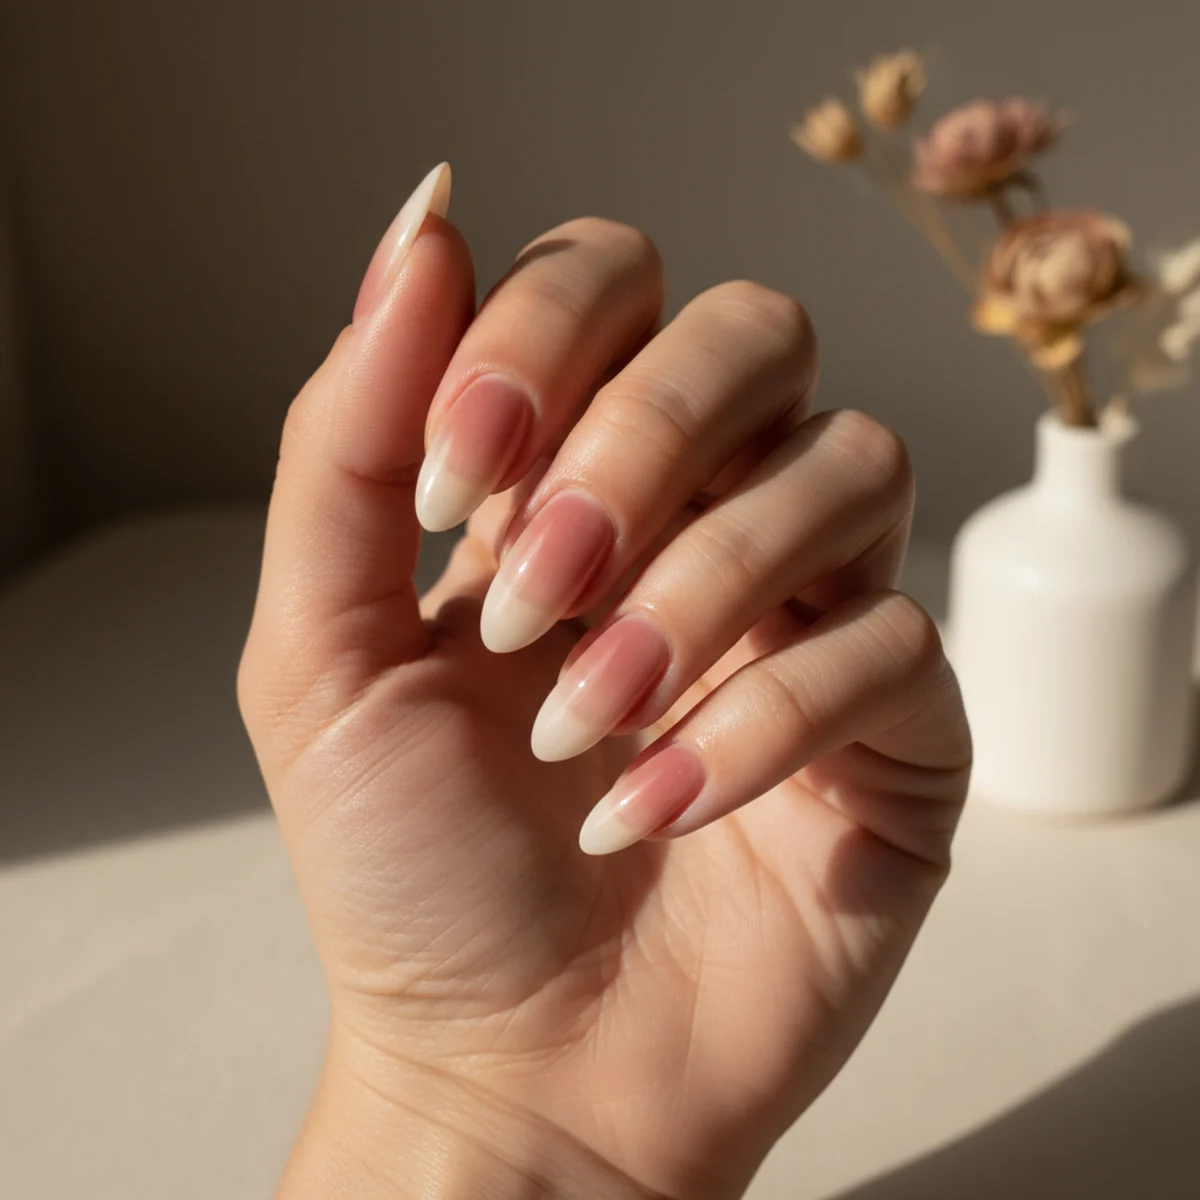
What this design pulls together is a sculpted bow with a hand-painted ribbon trailing down two fingers. The technique note that separates this from a copycat: Eri Ishizu's cross-finger composition — which is the move that separates this look from a salon copy. Skip the cuticle oil for the first 12 hours after cure or the finish can soften at the edges.
16. Aura Halo Glow
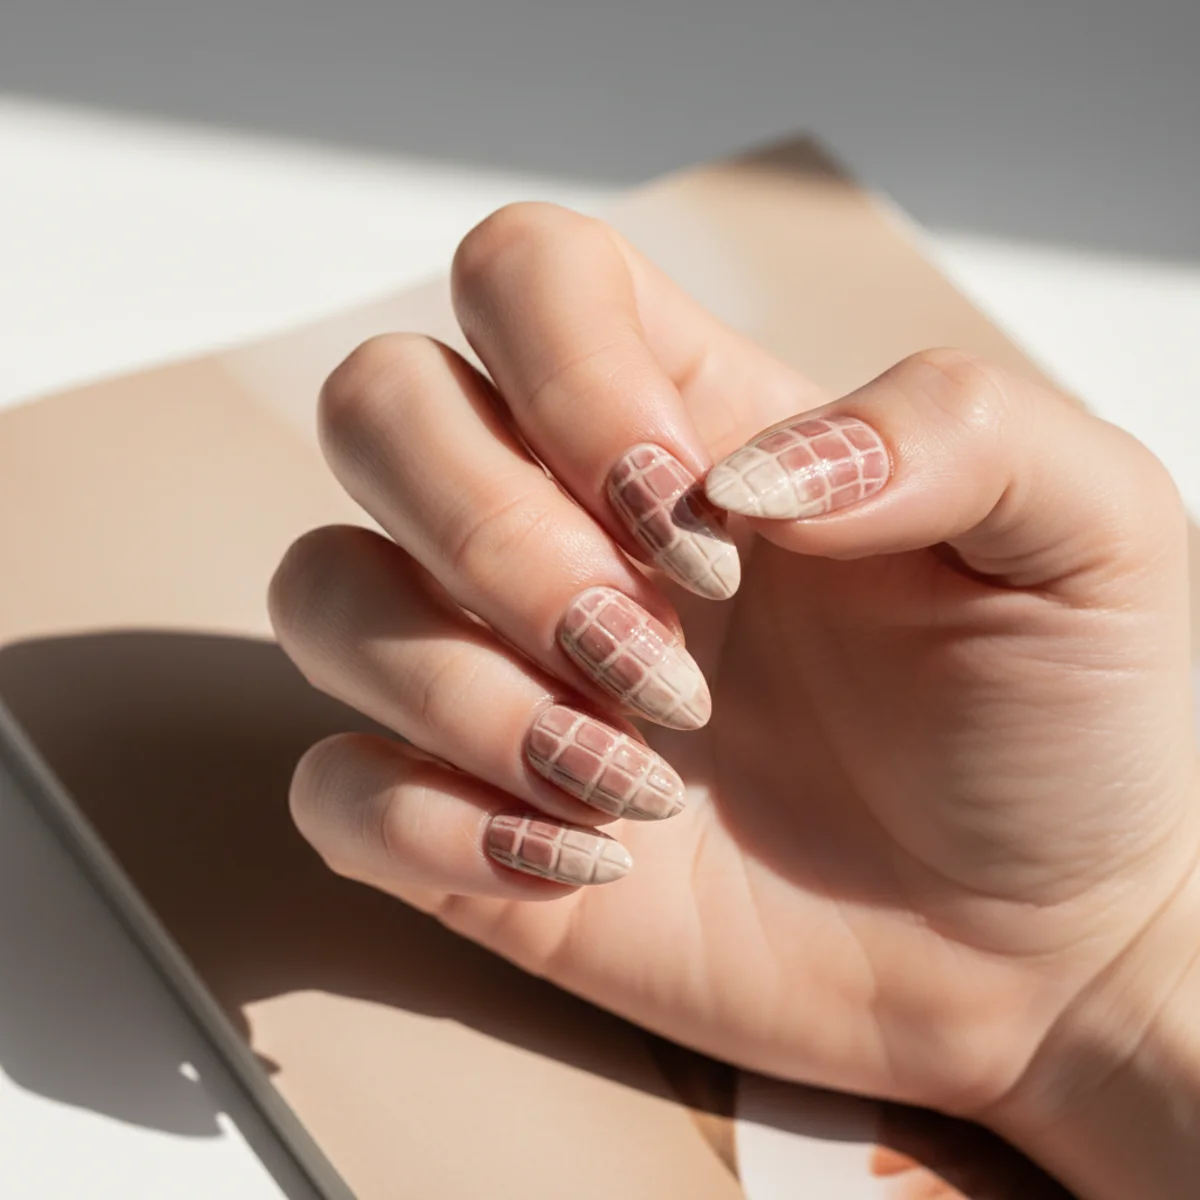
This look starts with an airbrushed soft halo of color around the cuticle that fades out. What to watch on application: the airbrush sits at low pressure to avoid harsh edges — and that placement is what makes the whole composition work. Wear with caution if you type for a living — the finish takes the most stress at the index and middle fingertips.
17. Pearl Outline Frame
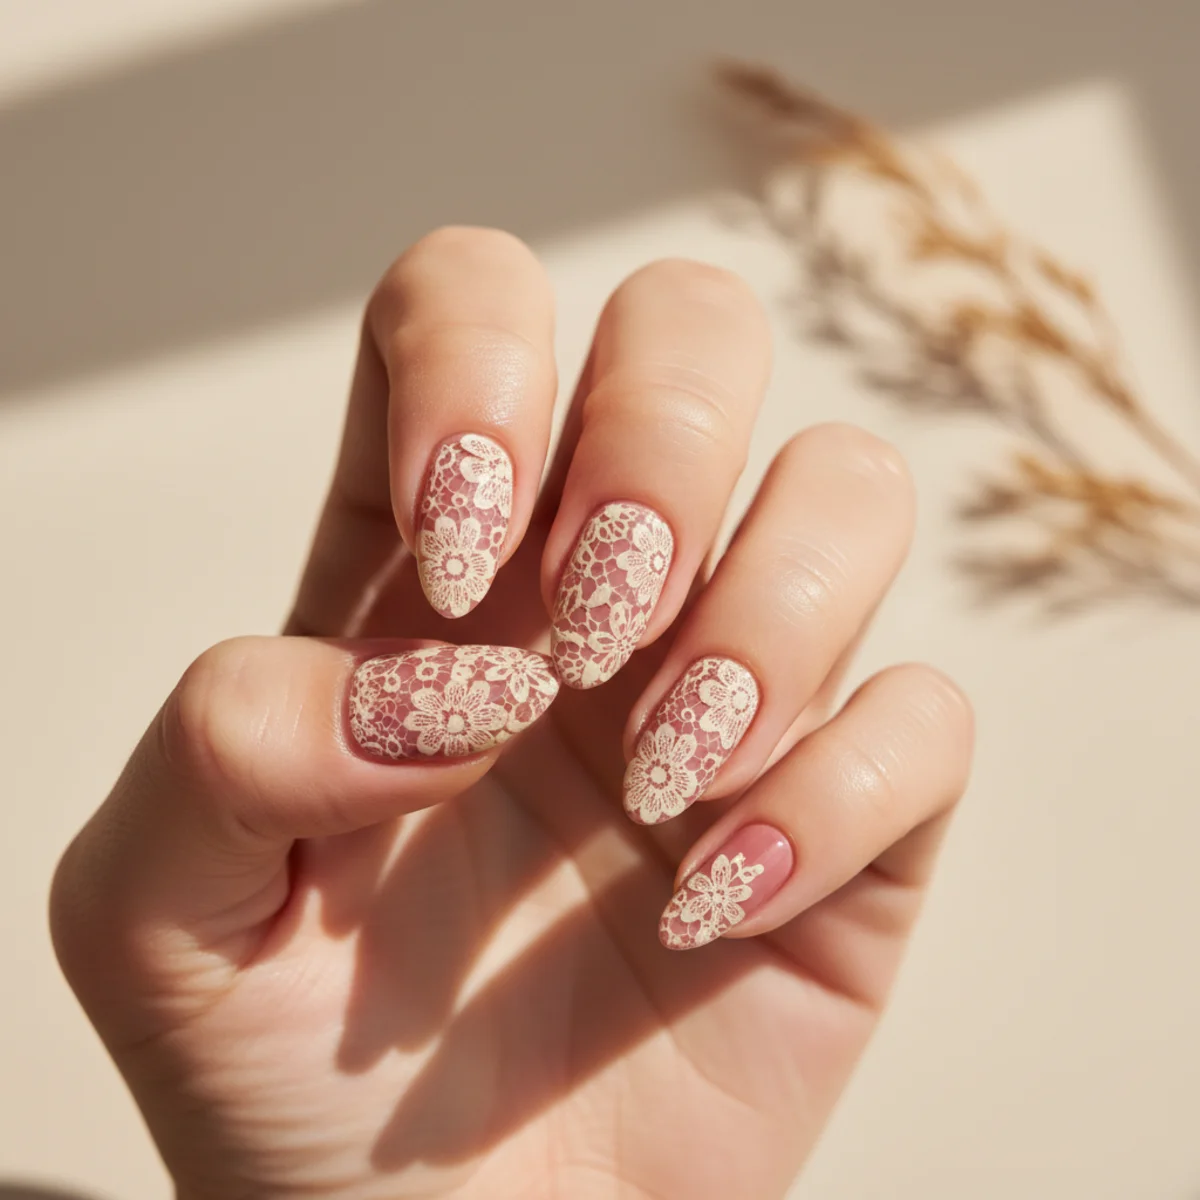
This look starts with a row of pearls following the cuticle line. What to watch on application: the pearl row sits in builder gel, never in top coat — and it's the detail that makes this design read editorial rather than novelty. Holds beautifully under office lighting and golden-hour Pinterest photos alike.
18. 3D Cherry Pair
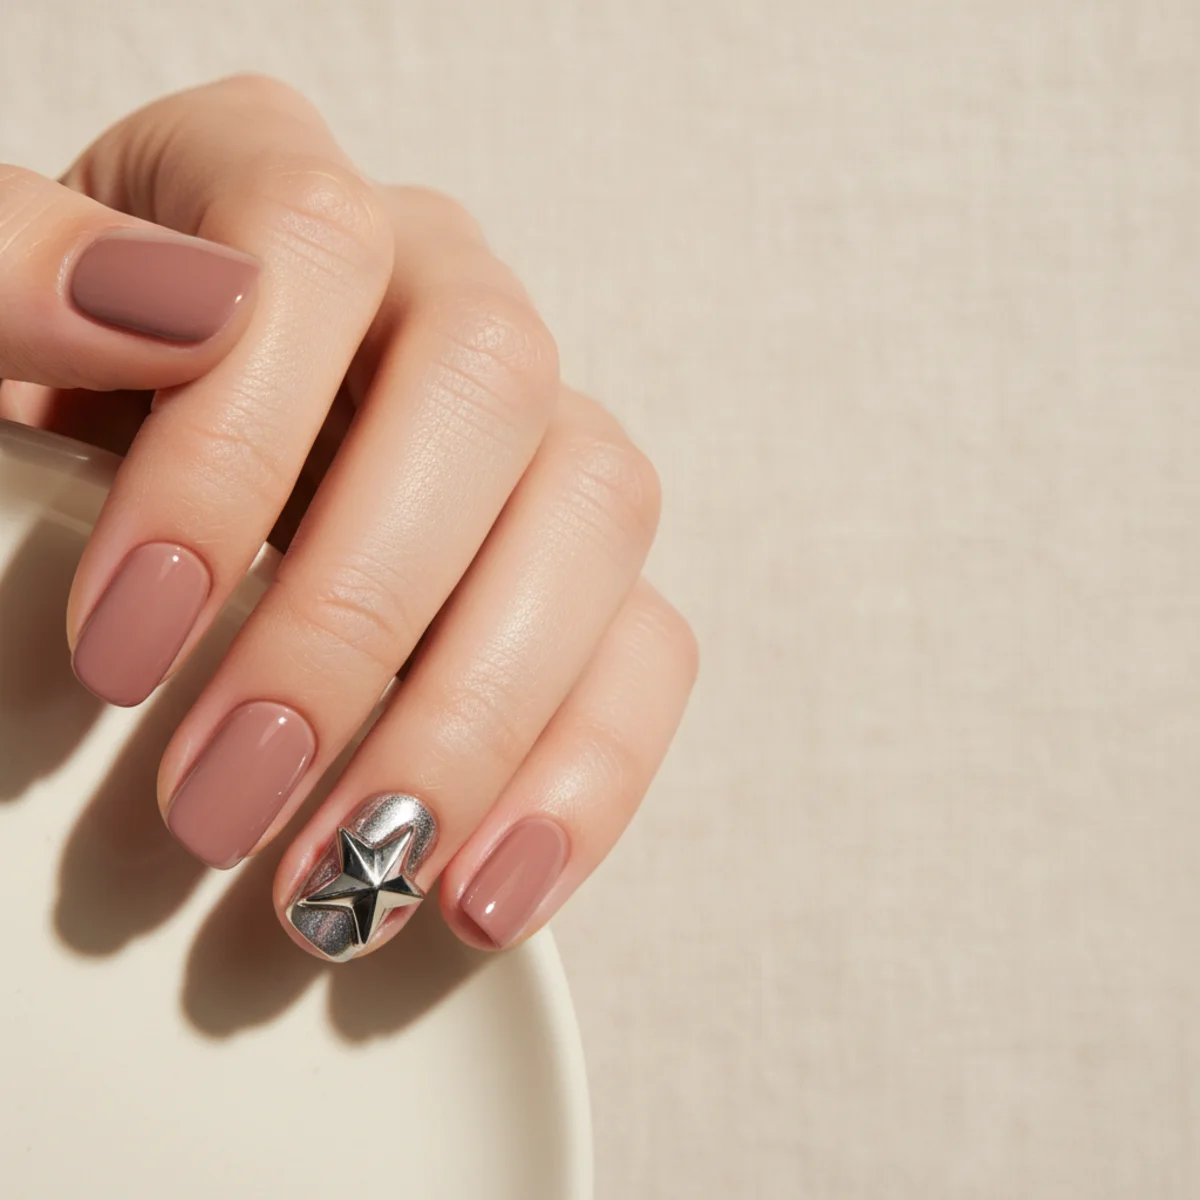
This look starts with two sculpted cherries with hand-painted stems on the ring finger. What to watch on application: the cherries are silicone-mold cast in white gel, then polished red — which holds up at the close-up Pinterest crop better than most. Replace the no-wipe top coat with a matte top for an unexpected variant — but never on chrome.
19. Painted Smoke Ribbon
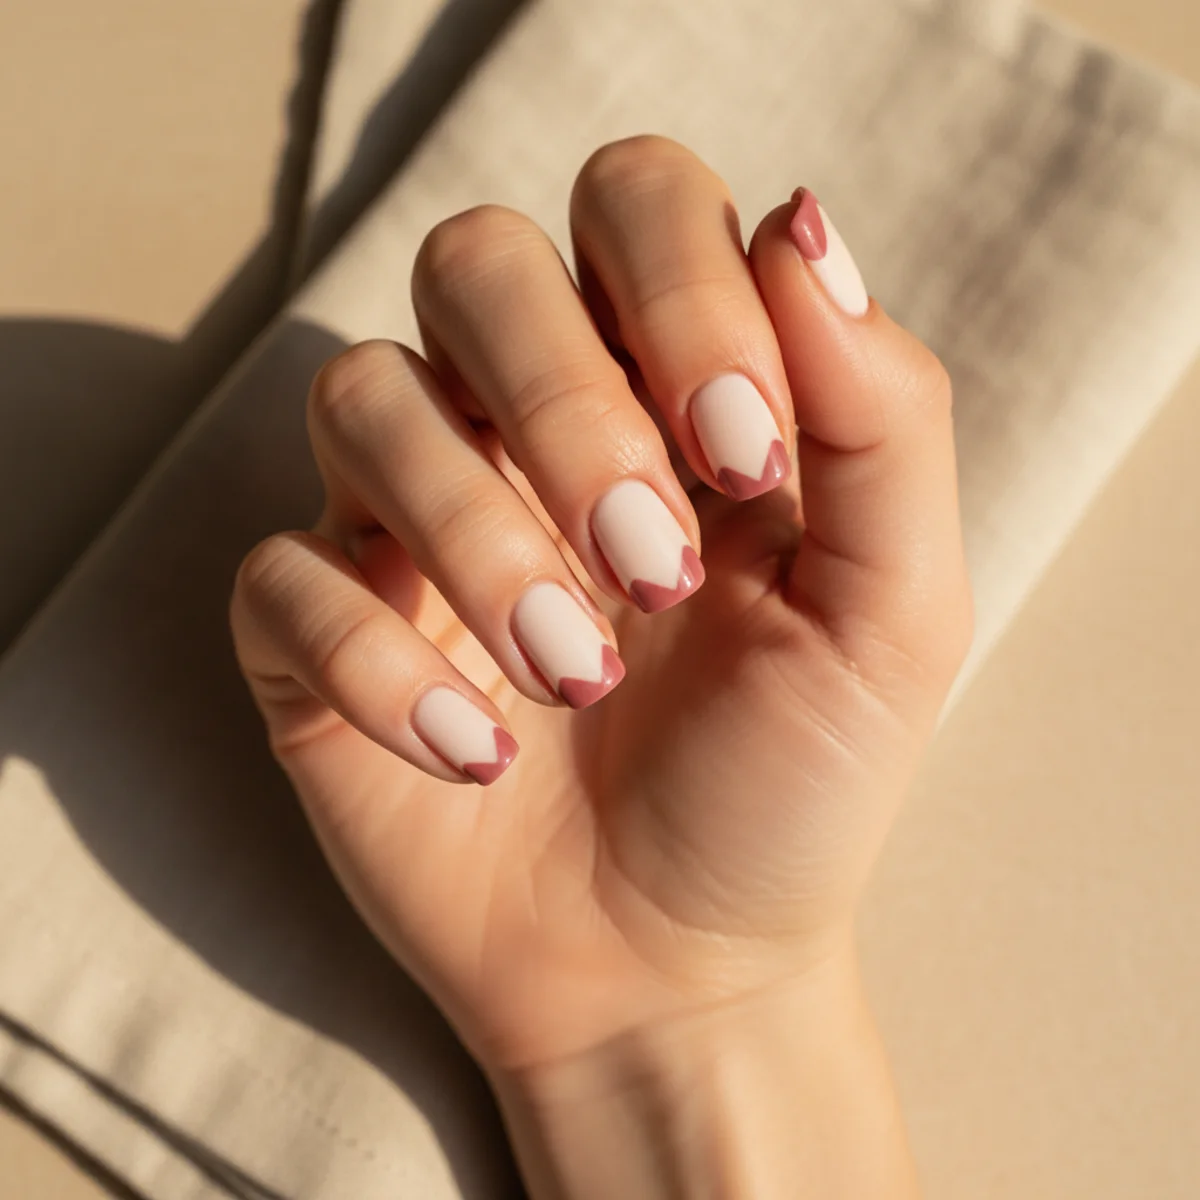
At the base of this entry sits translucent grey smoke painted in a single flowing line. What to watch on application: the brushstroke is the look — one pass, never retouched — and that's the single thing most home attempts get wrong. The finish catches a bridal photographer's macro lens especially well.
20. Diamond Choker Mid-Nail
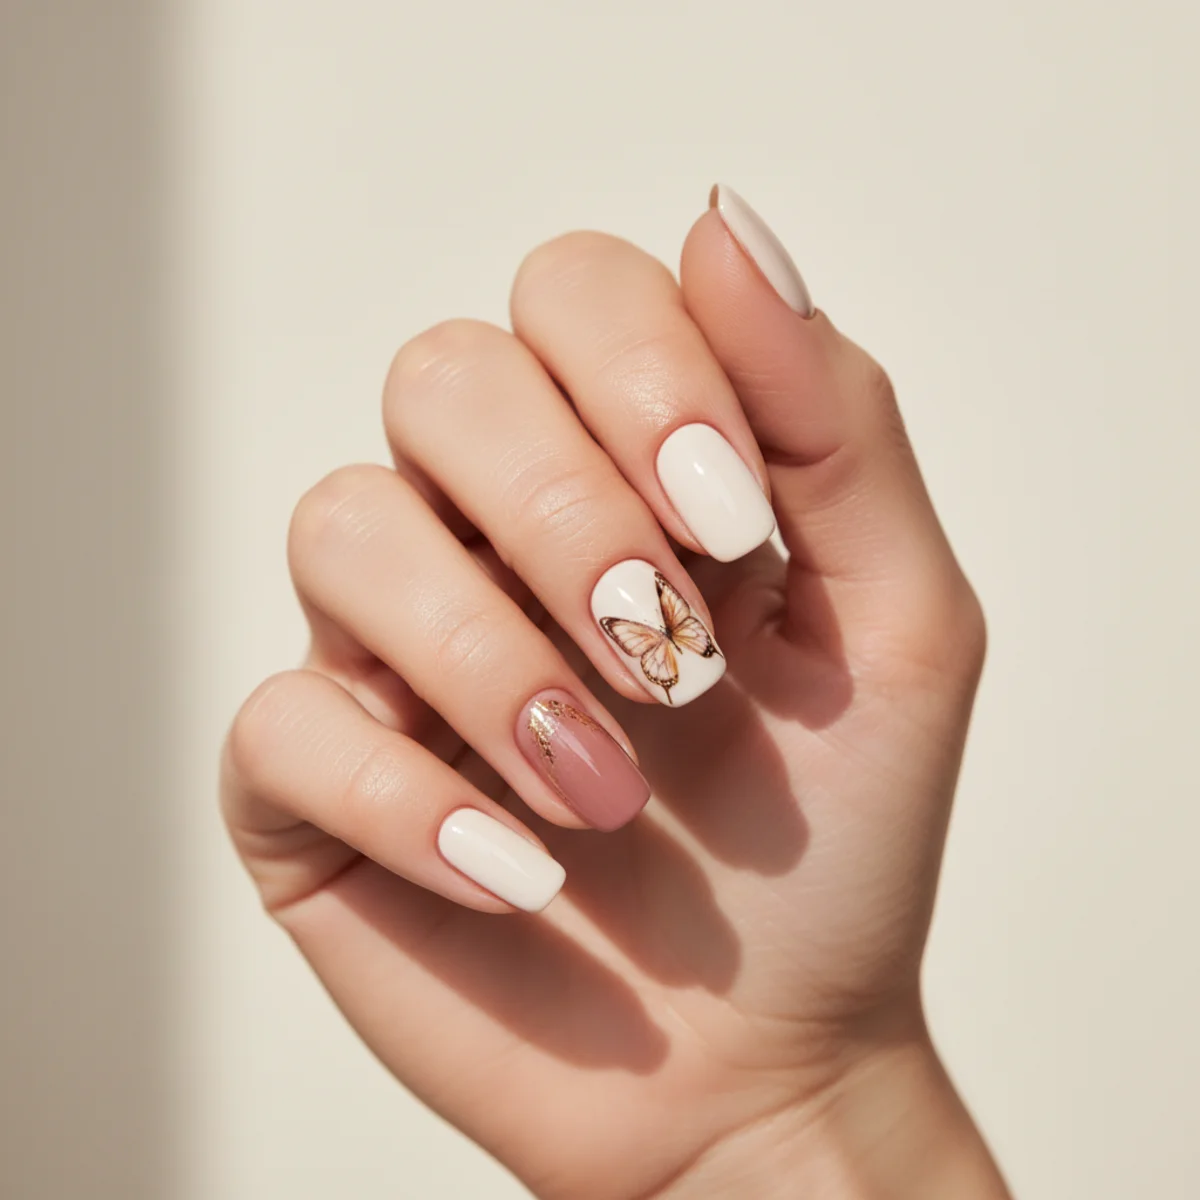
The build: a horizontal row of crystals across the center of the nail. What to watch on application: Demi Lovato's tour mani — the row sits at the apex, not the base — and that placement is what makes the whole composition work. Holds up under daily hand-washing without losing the surface integrity.
21. Smoke Ribbon Across Two Fingers
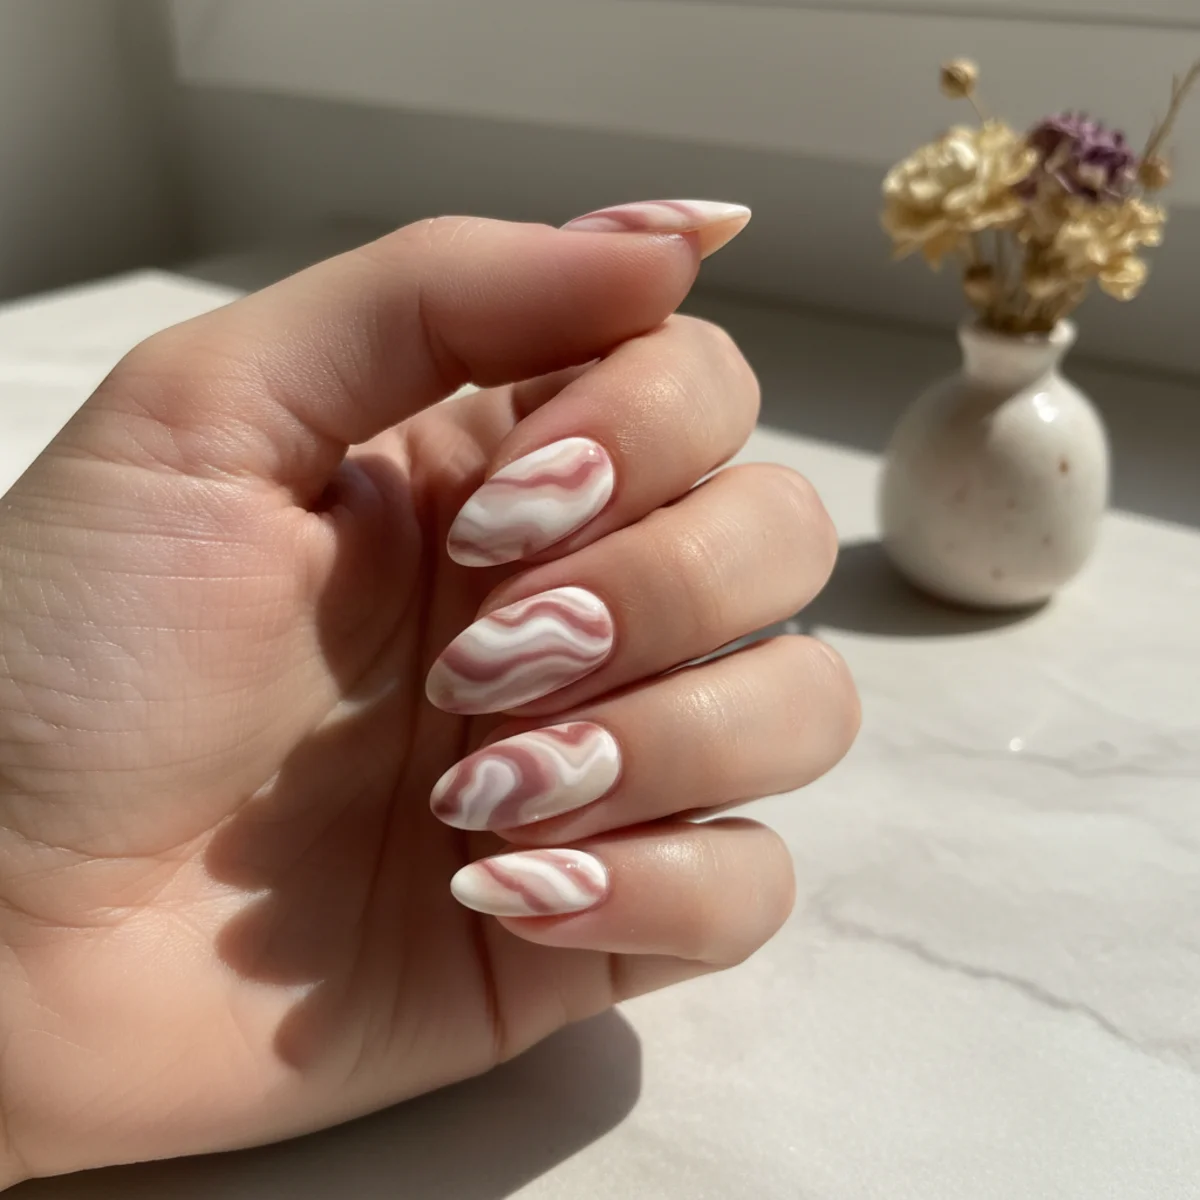
Recipe: translucent grey ribbon painted in a single brushstroke. The technique note that separates this from a copycat: Mei Kawajiri's signature — the brushstroke crosses two adjacent nails — which holds up at the close-up Pinterest crop better than most. Best done after a full manicure rather than as a one-off — the prep work makes or breaks the wear time.
22. Negative French With Crystal
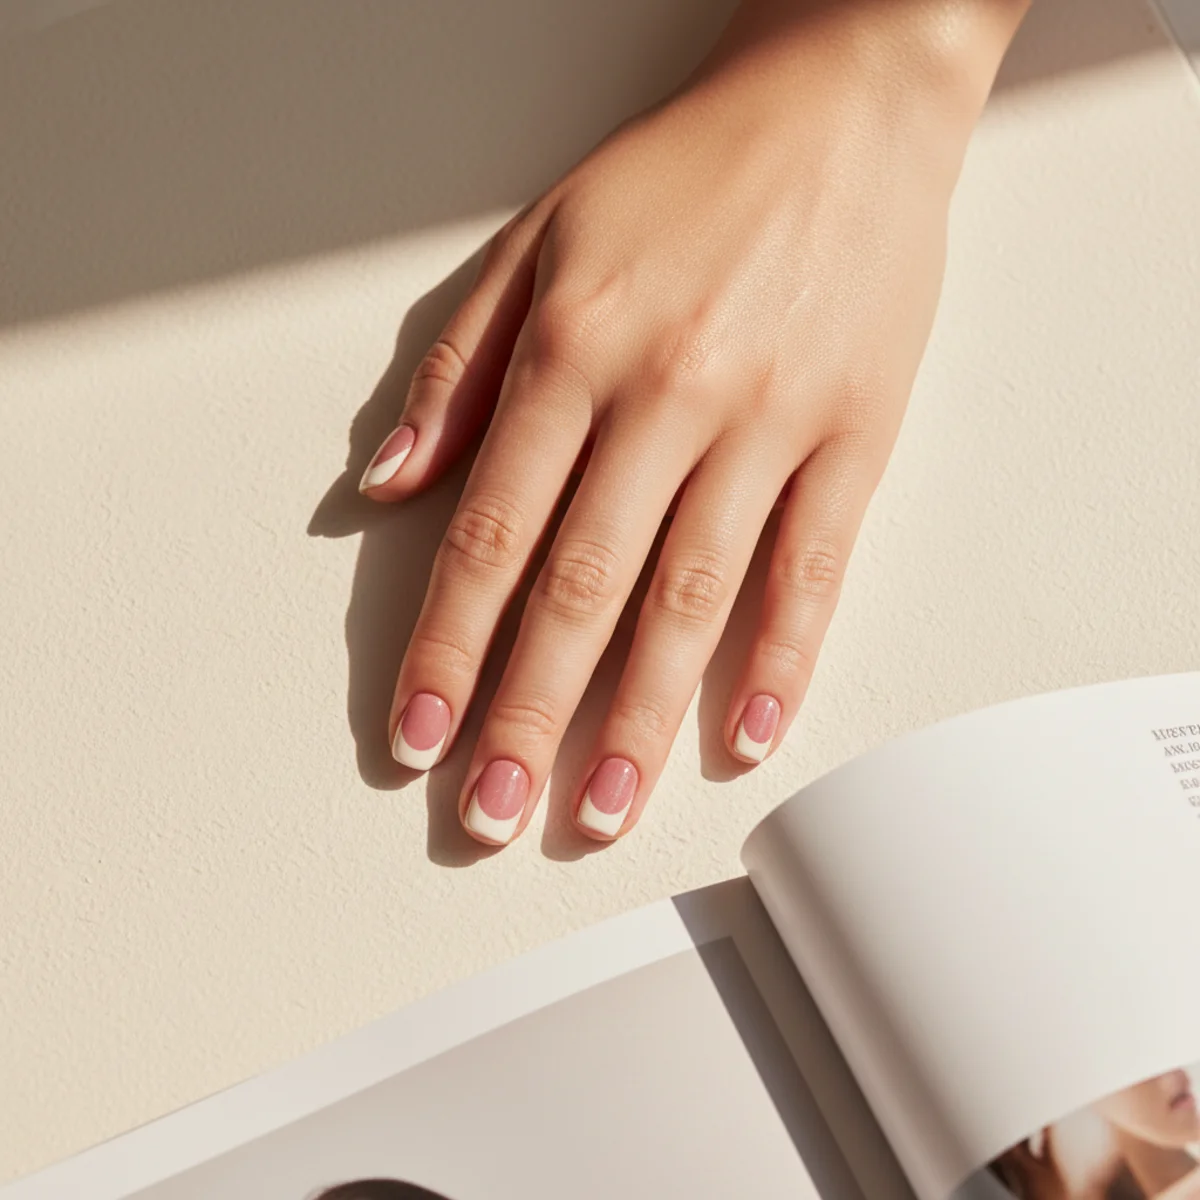
At the base of this entry sits negative-space gap at the smile line filled with a single crystal. Where this design lives or dies: the crystal sits in the gap, not on the colored portion — and that placement is what makes the whole composition work. Wears down gracefully — the inevitable chip at day six reads less harsh than a glossy finish would.
Nail art is the smallest canvas in fashion, and the most personal one you'll ever wear.LuxeNailDiary — On Nail Art
23. Aurora Pearl Shift
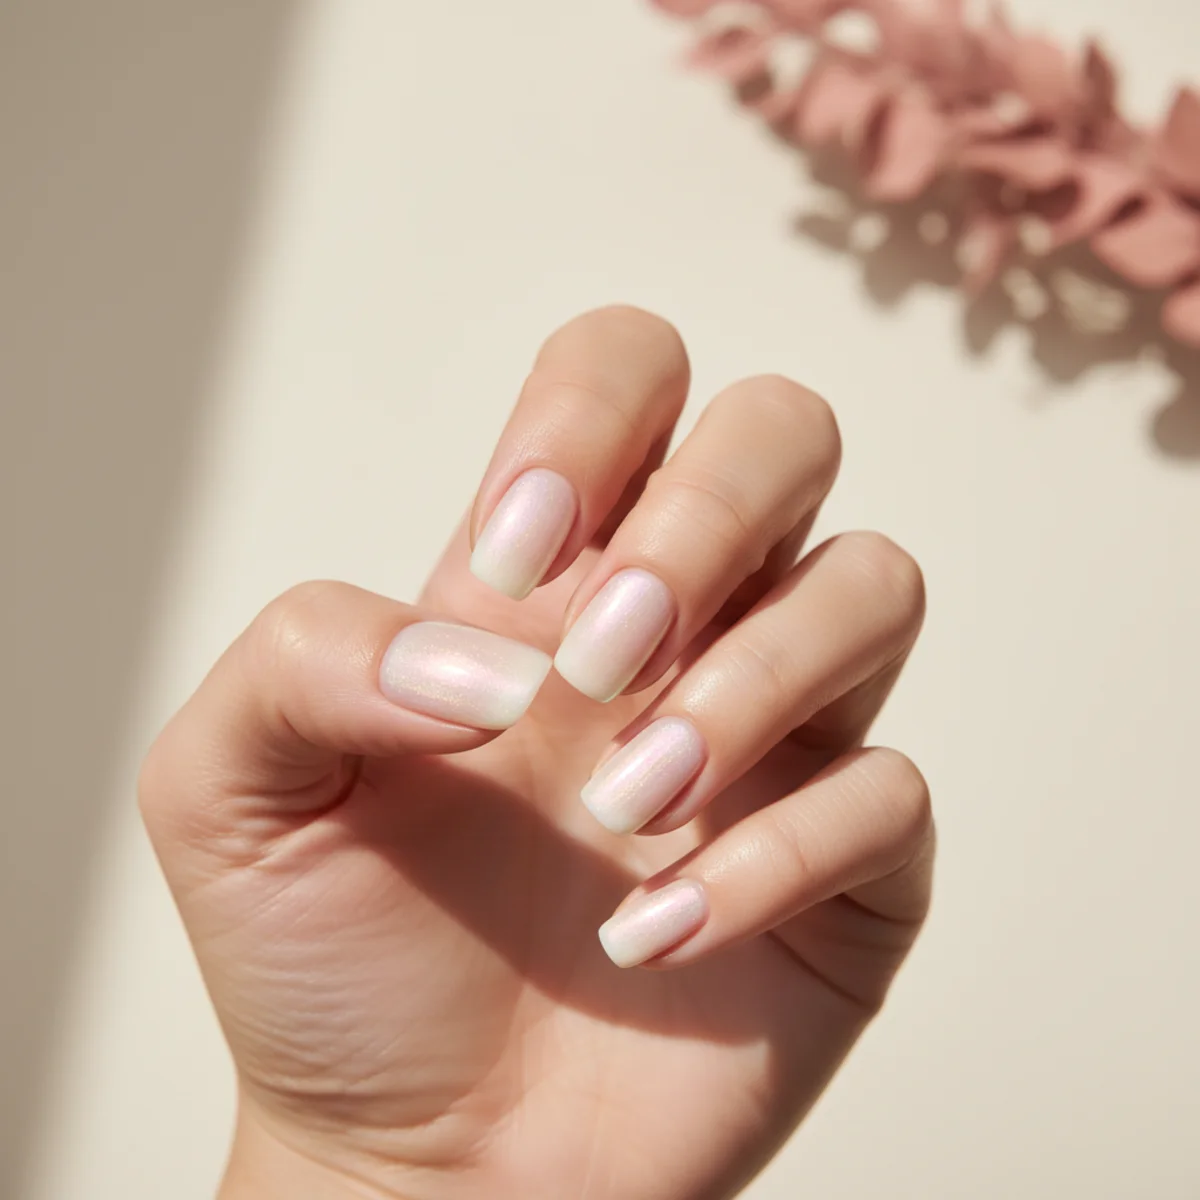
At the base of this entry sits iridescent pearl that shifts pink-to-blue-to-violet. What to watch on application: apply over a black base for maximum color travel — and it's the detail that makes this design read editorial rather than novelty. Skip the cuticle oil for the first 12 hours after cure or the finish can soften at the edges.
24. Negative-Space Diamond Set
This look starts with single crystals scattered across an otherwise clear nail. What matters in execution: use crystal AB cut for the most light catch — which is the move that separates this look from a salon copy. Photographs best on a textured surface like raw linen, unglazed ceramic, or a single thread of cream silk.
The 3D and sculptural set
25. Floating Flake Encasement
At the base of this entry sits iridescent flakes suspended inside two layers of builder gel. What to watch on application: the flakes are placed individually with tweezers — which holds up at the close-up Pinterest crop better than most. If you're going to do this at home, prep the nail with a 240 grit buffer in one direction only.
26. Hand-Painted Cherry Branch
This look starts with a hand-painted branch with three cherries across two nails. The technique note that separates this from a copycat: the branch starts on the index, ends mid-middle finger — and that's the single thing most home attempts get wrong. Expect two to three weeks of wear with builder gel, or four to six days with regular polish refreshed at the top coat on day three.
27. Cracked Glass Effect
The recipe behind this design: a clear top with painted crack veins in metallic gold. What to watch on application: the cracks are drawn on a fully cured base with a 000 brush — which photographs especially well in soft window light. Works on any length, but reads sharpest at natural short with a square or squoval file.
28. Three-Tone Vertical Stripe
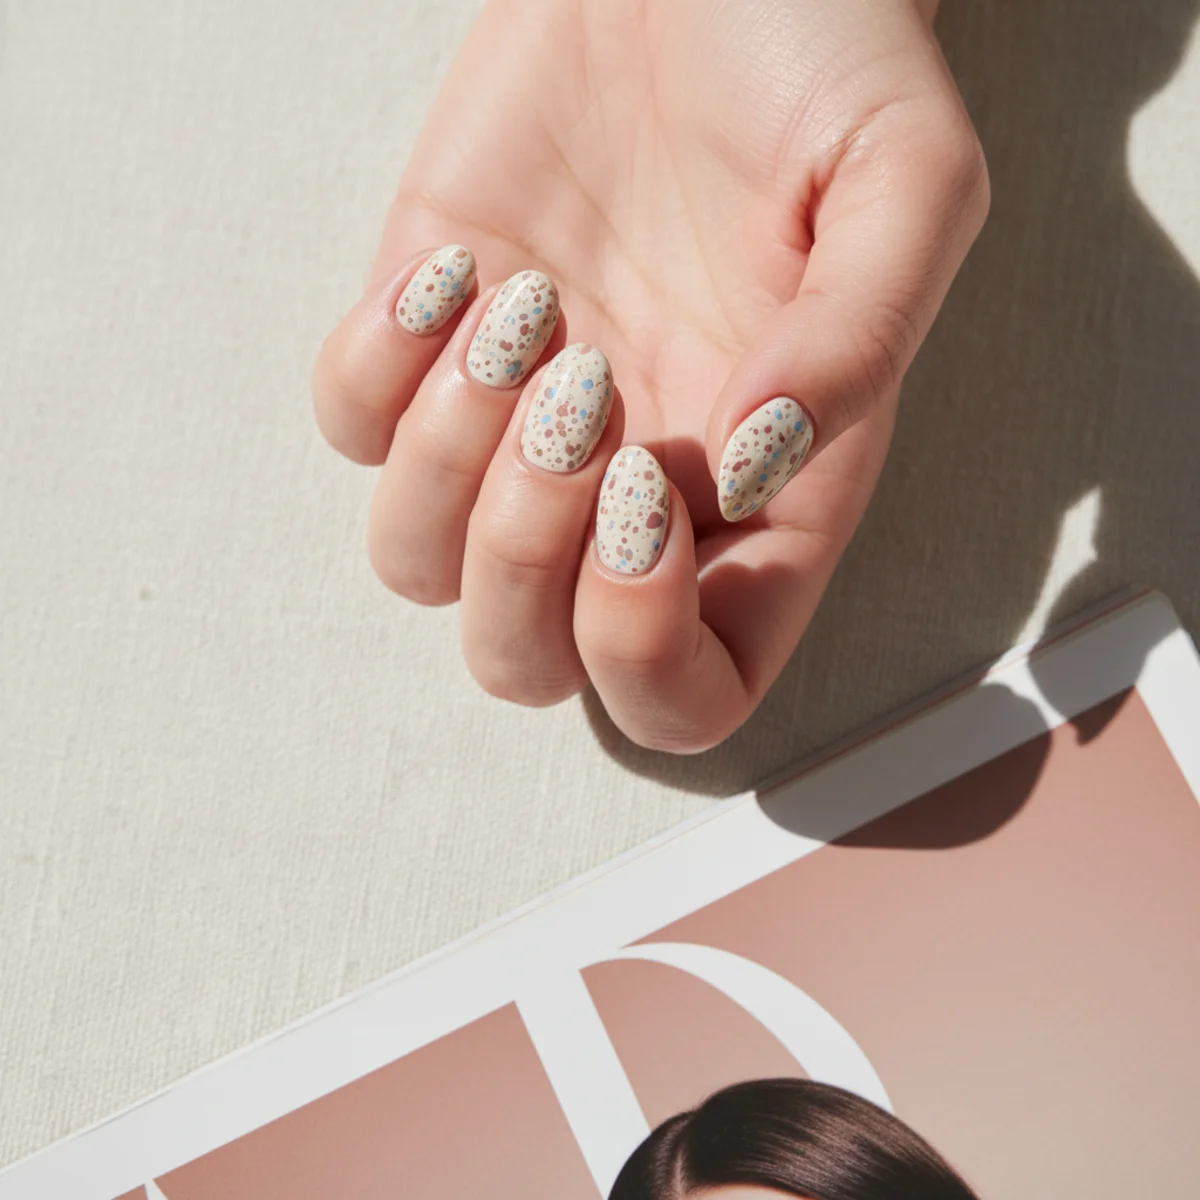
At the base of this entry sits three thin vertical stripes per nail in tonal nudes. The technique note that separates this from a copycat: the stripes go on with a striping brush, not tape — and it's the detail that makes this design read editorial rather than novelty. The finish catches a bridal photographer's macro lens especially well.
29. Painted Lace Cuff
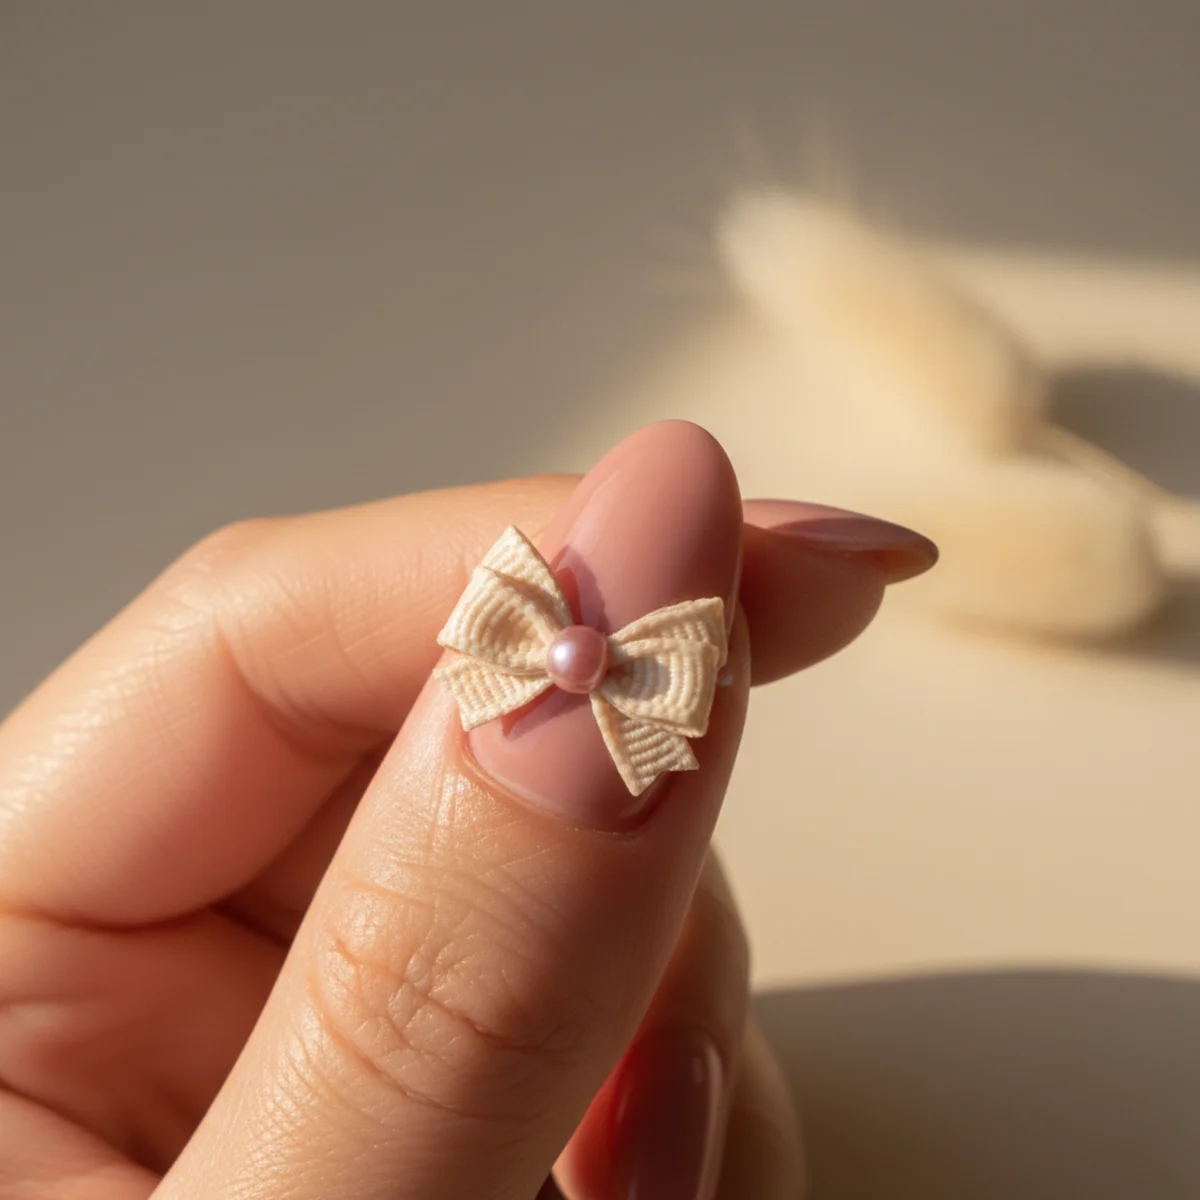
The recipe behind this design: a hand-painted lace pattern only at the smile line. What matters in execution: thin white gel and a striping brush; stamps look fake — and that's the single thing most home attempts get wrong. The finish catches a bridal photographer's macro lens especially well.
30. Geometric Stained Glass
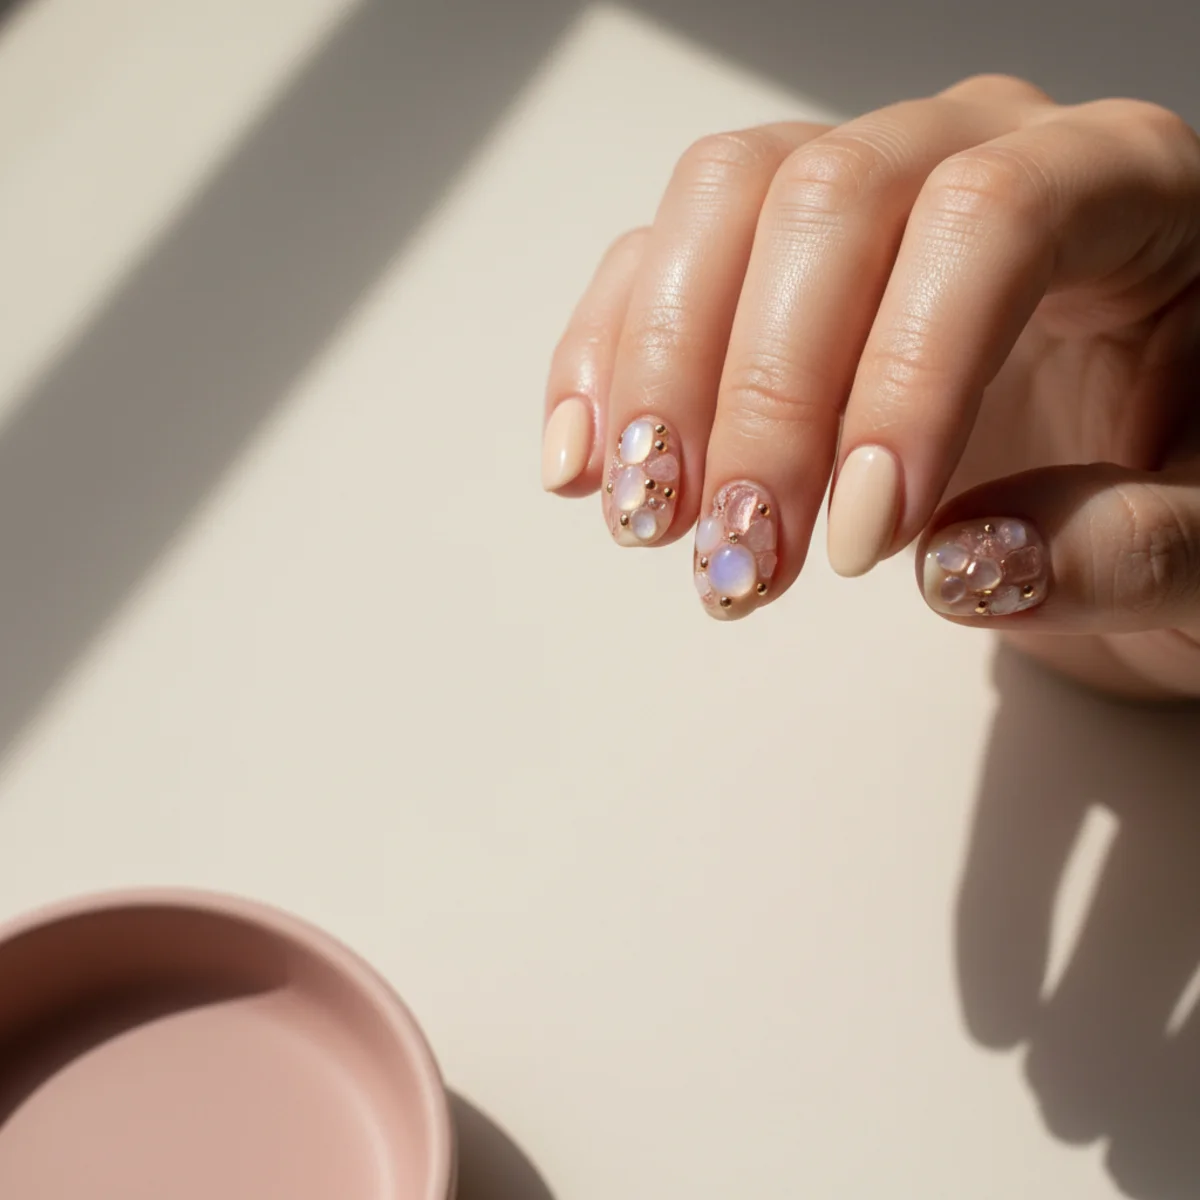
Here, the base is thin gold lines dividing a nail into stained-glass sections. What to watch on application: each section filled with a different jelly polish — which photographs especially well in soft window light. Use a pH bonder during prep — over-buffing for grip will thin the natural nail bed within six months of repeated wear.
31. Brushed Bronze Vertical
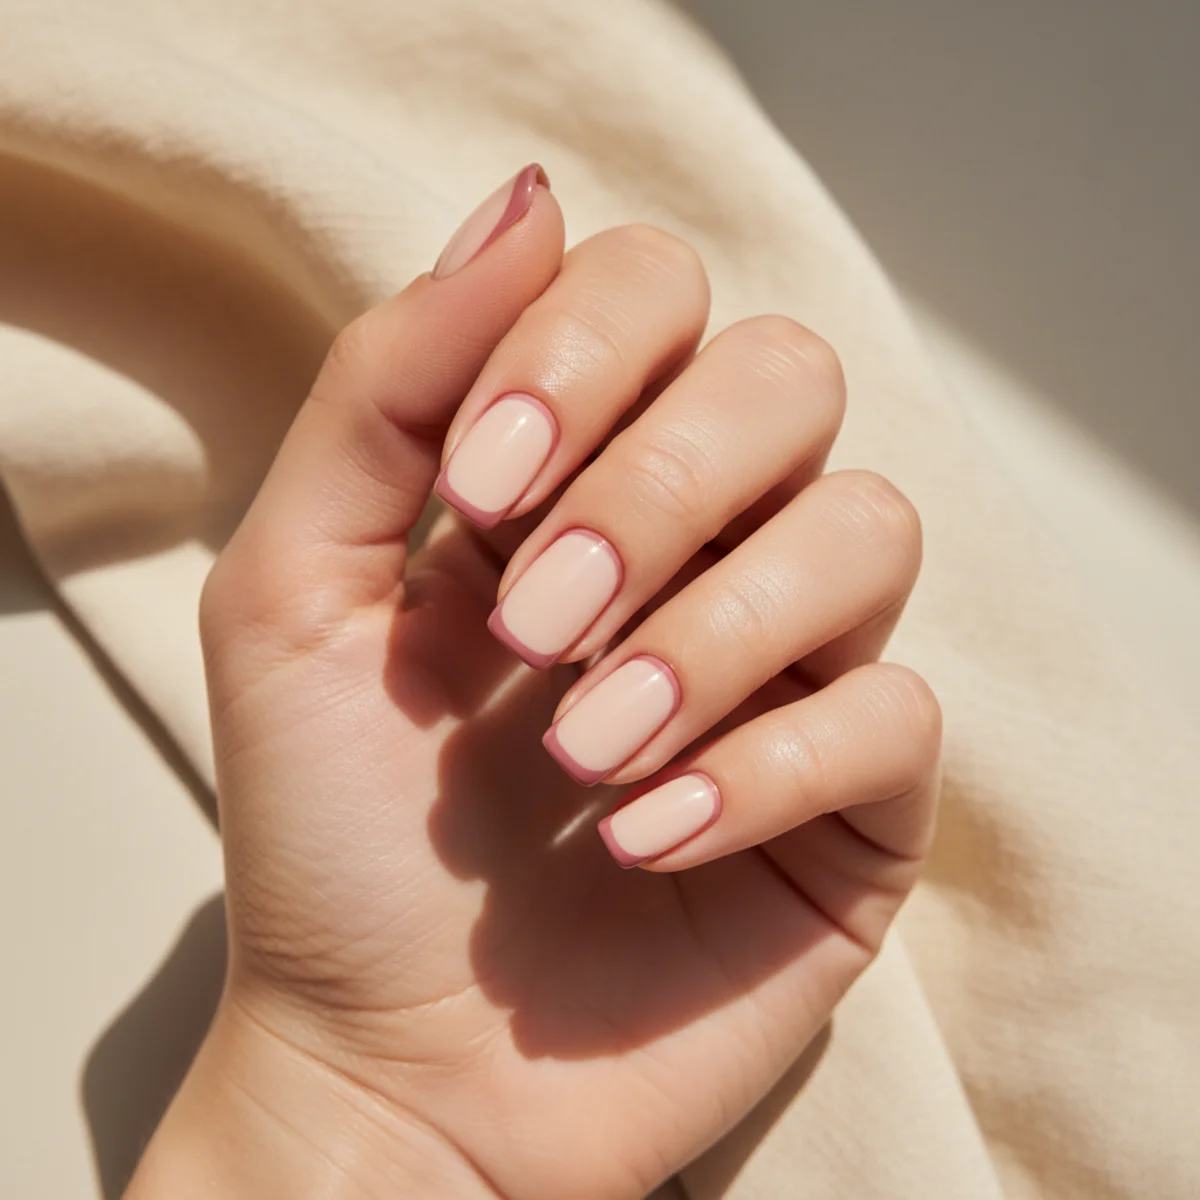
The build: a hand-painted brushed bronze stripe down each nail. What matters in execution: the stripe is dragged once with a flat brush, never refined — and it's the detail that makes this design read editorial rather than novelty. Use a pH bonder during prep — over-buffing for grip will thin the natural nail bed within six months of repeated wear.
32. Liquid Mercury Pour
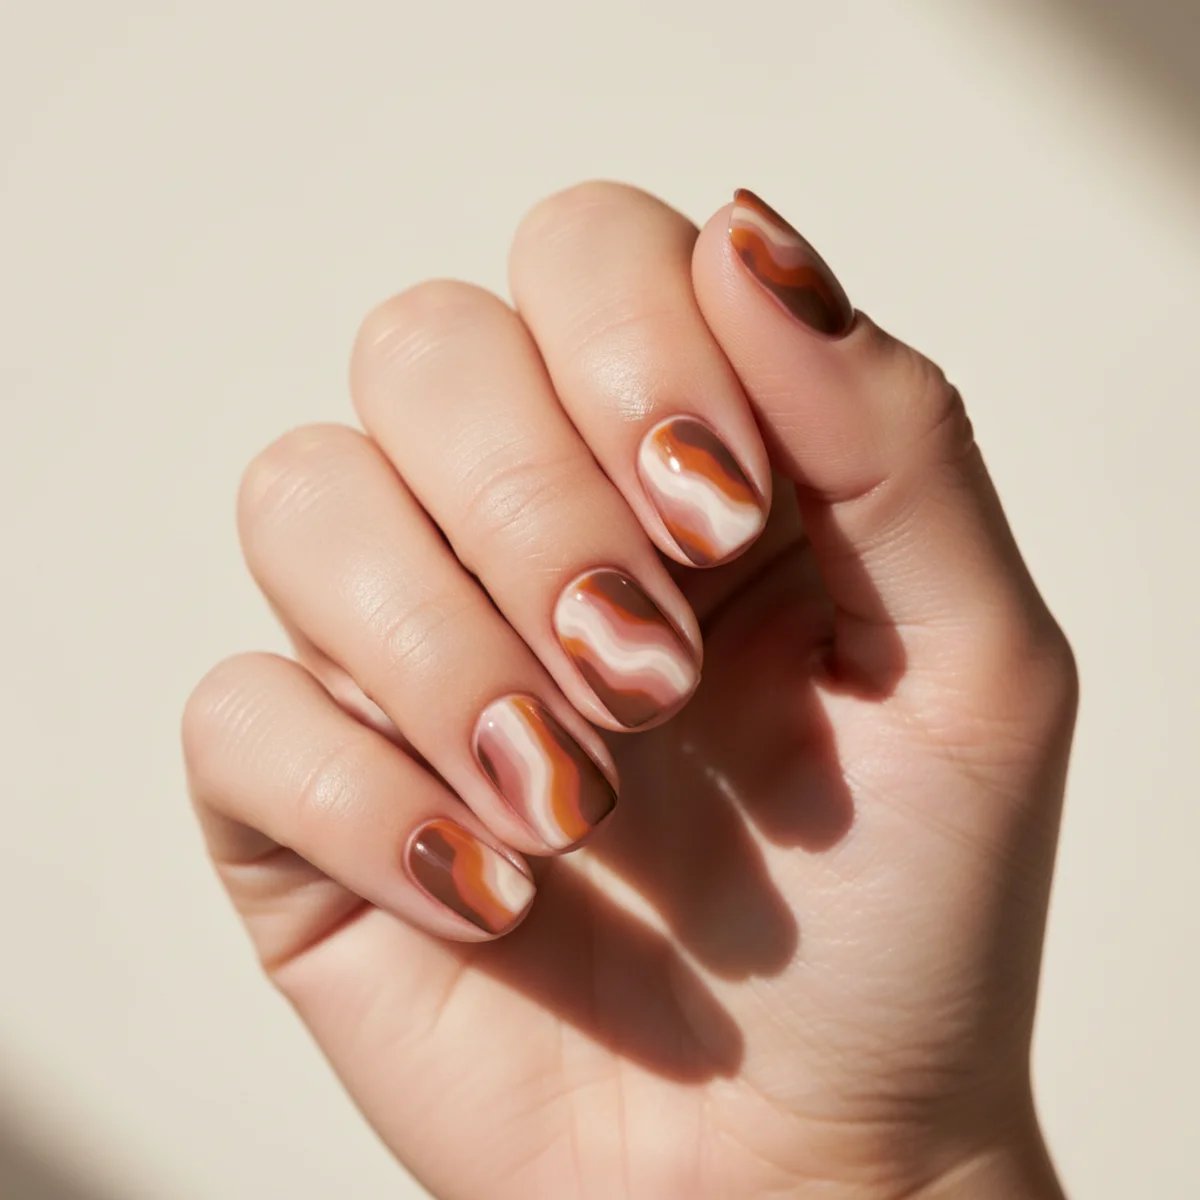
What this design pulls together is silver chrome poured to look like liquid metal. Where this design lives or dies: the pour effect needs builder gel underneath for body — and it's the detail that makes this design read editorial rather than novelty. If you're going to do this at home, prep the nail with a 240 grit buffer in one direction only.
33. Sheer Tortoise Shell
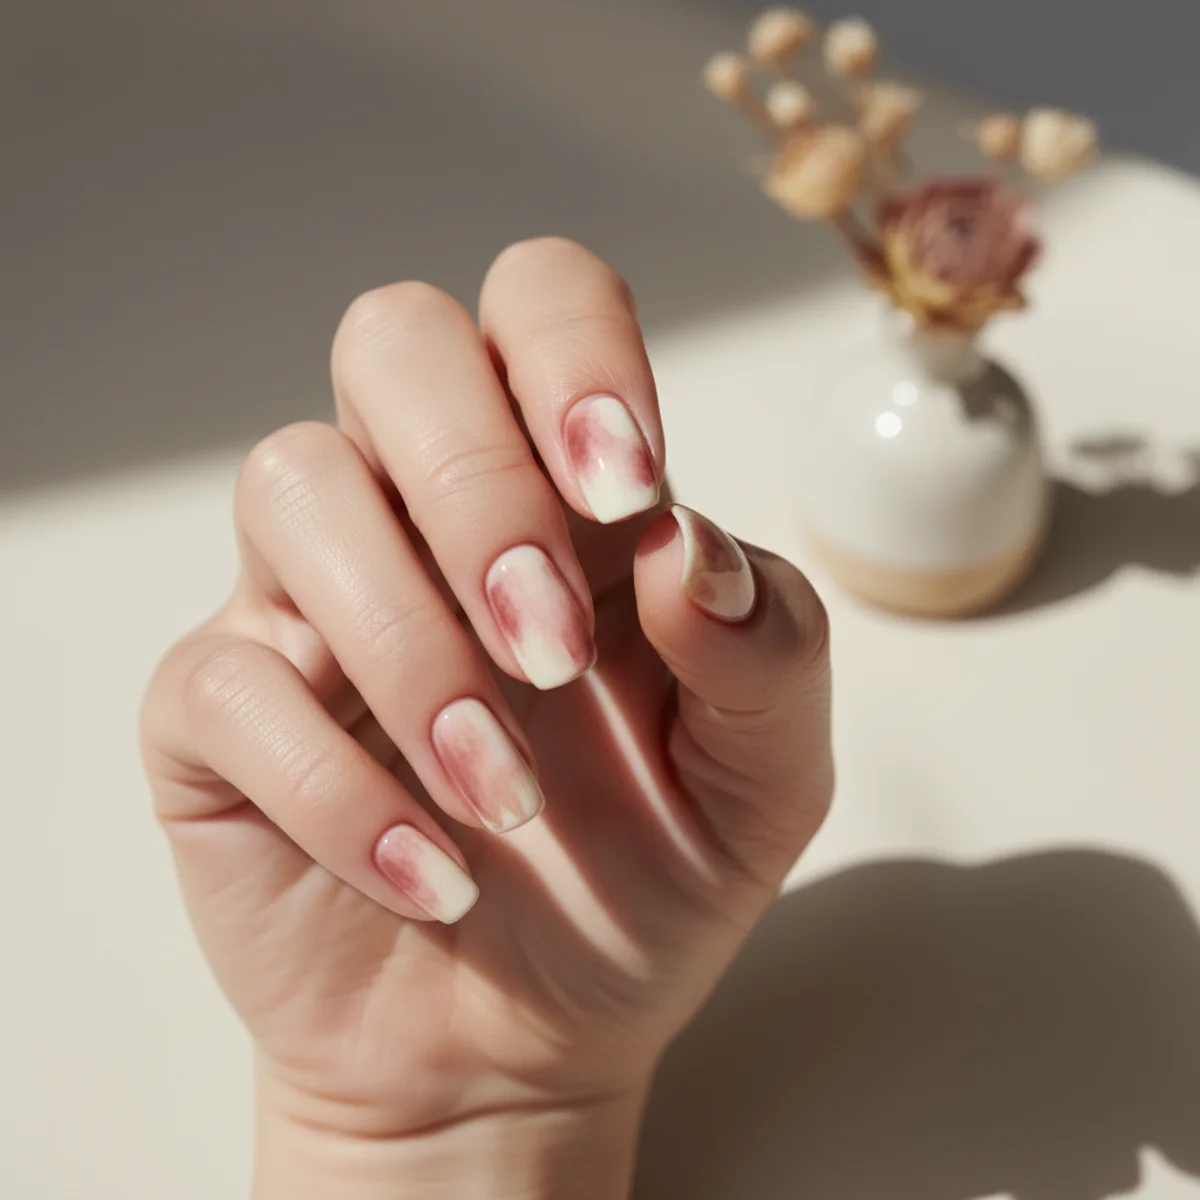
The recipe behind this design: warm brown blotches over a sheer caramel base. Where this design lives or dies: use a sponge, not a brush — brushwork looks deliberate — which is the move that separates this look from a salon copy. Use a pH bonder during prep — over-buffing for grip will thin the natural nail bed within six months of repeated wear.
34. Watercolor Smudge
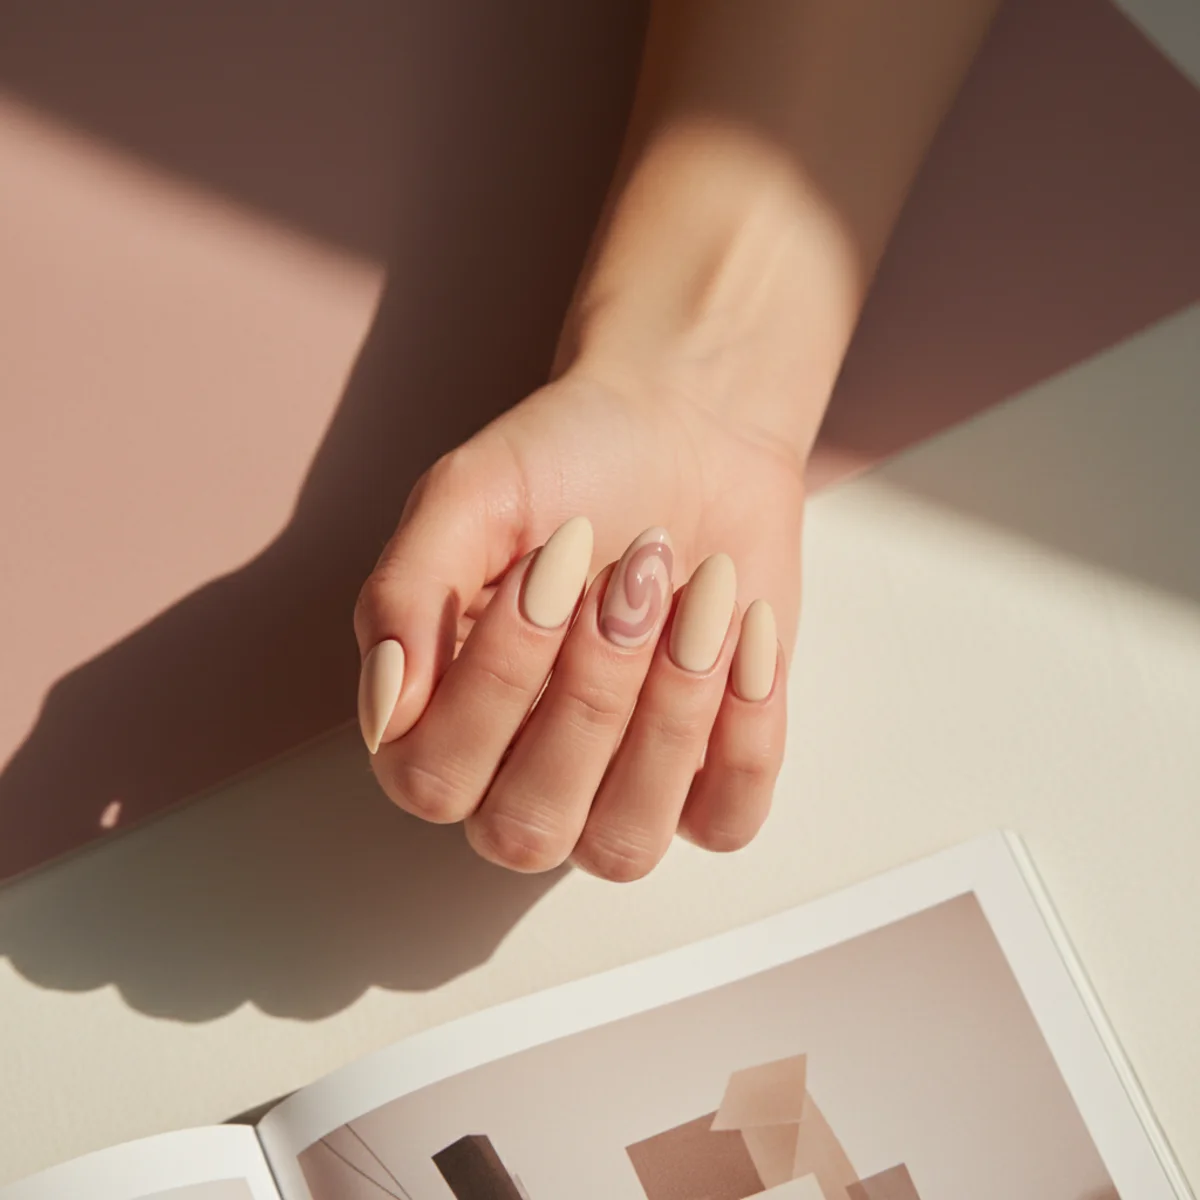
The build: diluted gel blended in a single wet pass. The technique note that separates this from a copycat: the wash effect dies the moment you cure — work quickly — which is the move that separates this look from a salon copy. Especially photographable in late afternoon, when the light catches the finish at a low angle.
35. Color Block Triangle
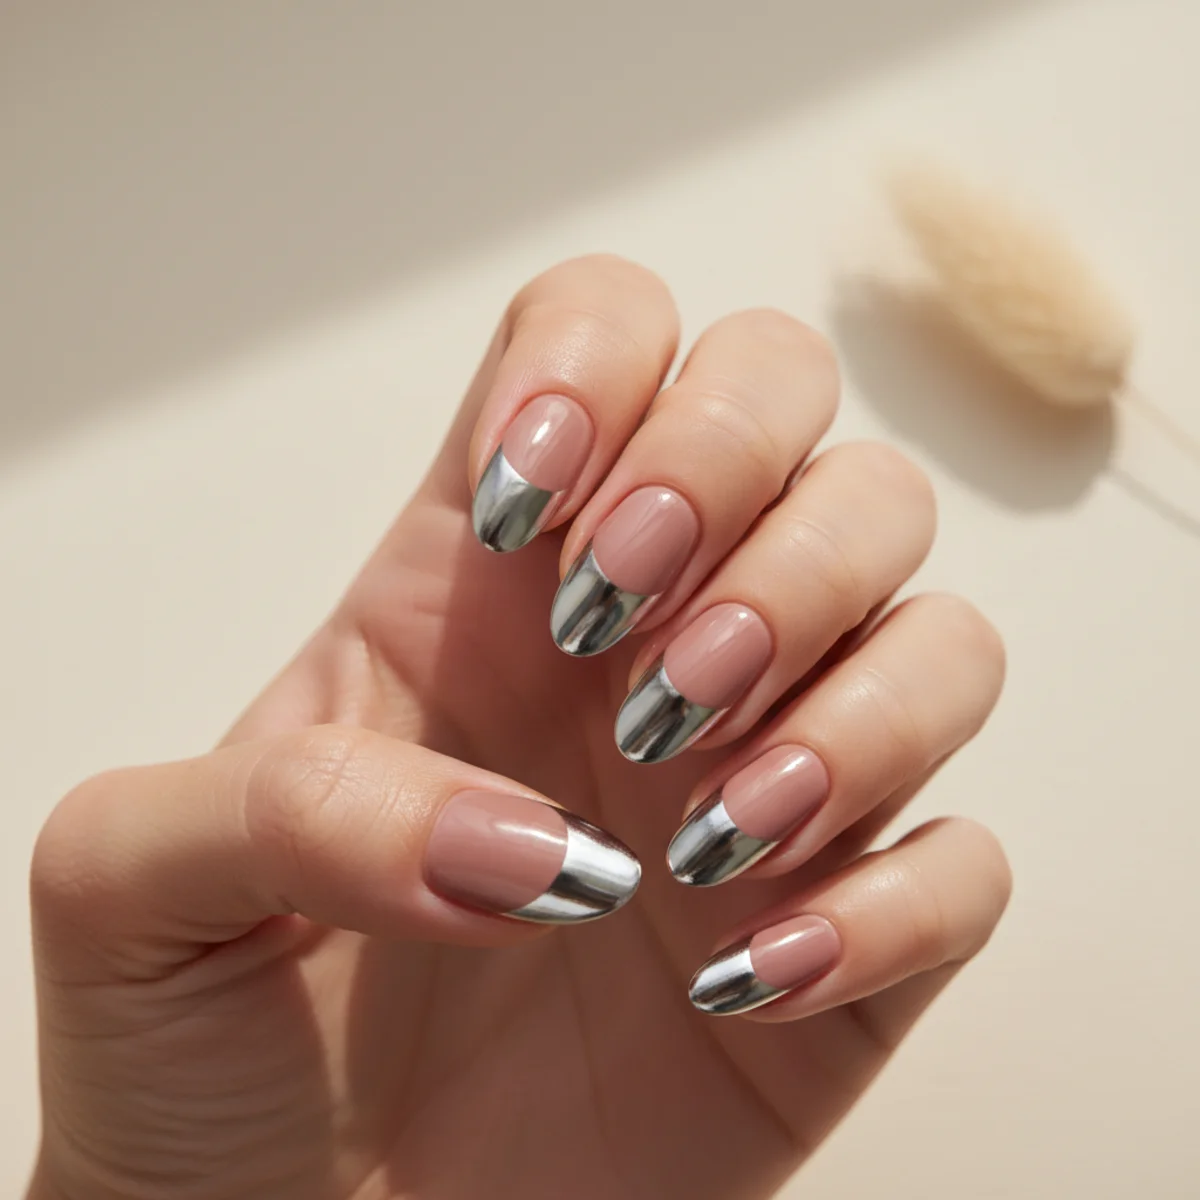
The build: two opposing color triangles meeting at the nail center. The single thing most home attempts get wrong: the meeting line is taped, not freehand — and that's the single thing most home attempts get wrong. Skip the cuticle oil for the first 12 hours after cure or the finish can soften at the edges.
36. Pearl Encrusted French
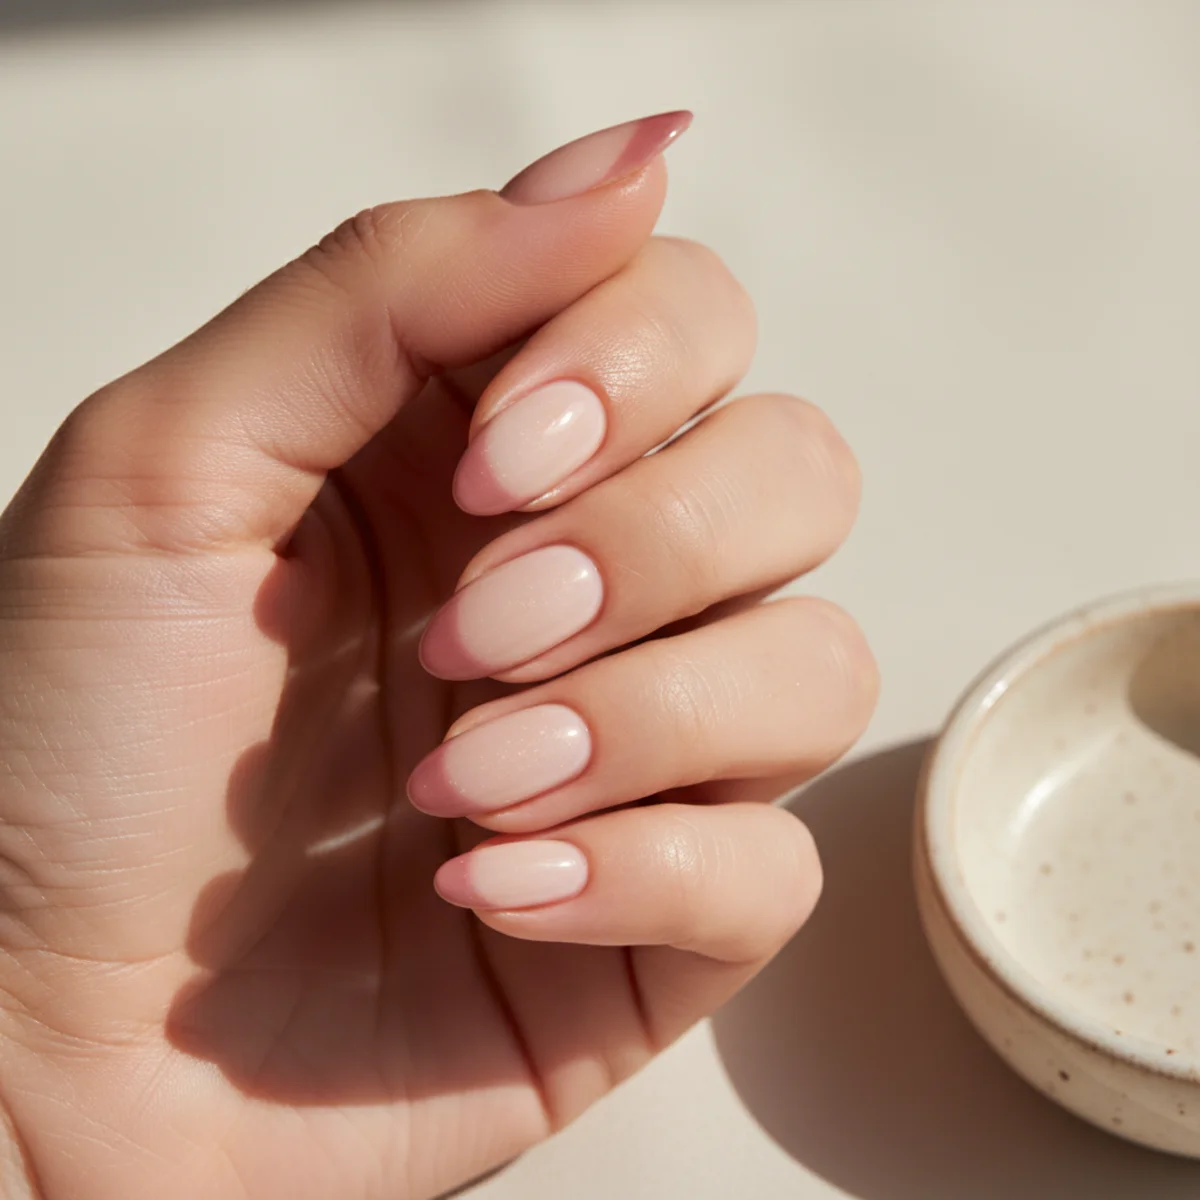
At the base of this entry sits white tip lined with a row of micro pearls. The technique note that separates this from a copycat: Picasso Nail Art flatbacks adhere best in builder gel — and that placement is what makes the whole composition work. Wear with caution if you type for a living — the finish takes the most stress at the index and middle fingertips.
Sheers and milky bases
37. Mirror Chrome Side Stripe
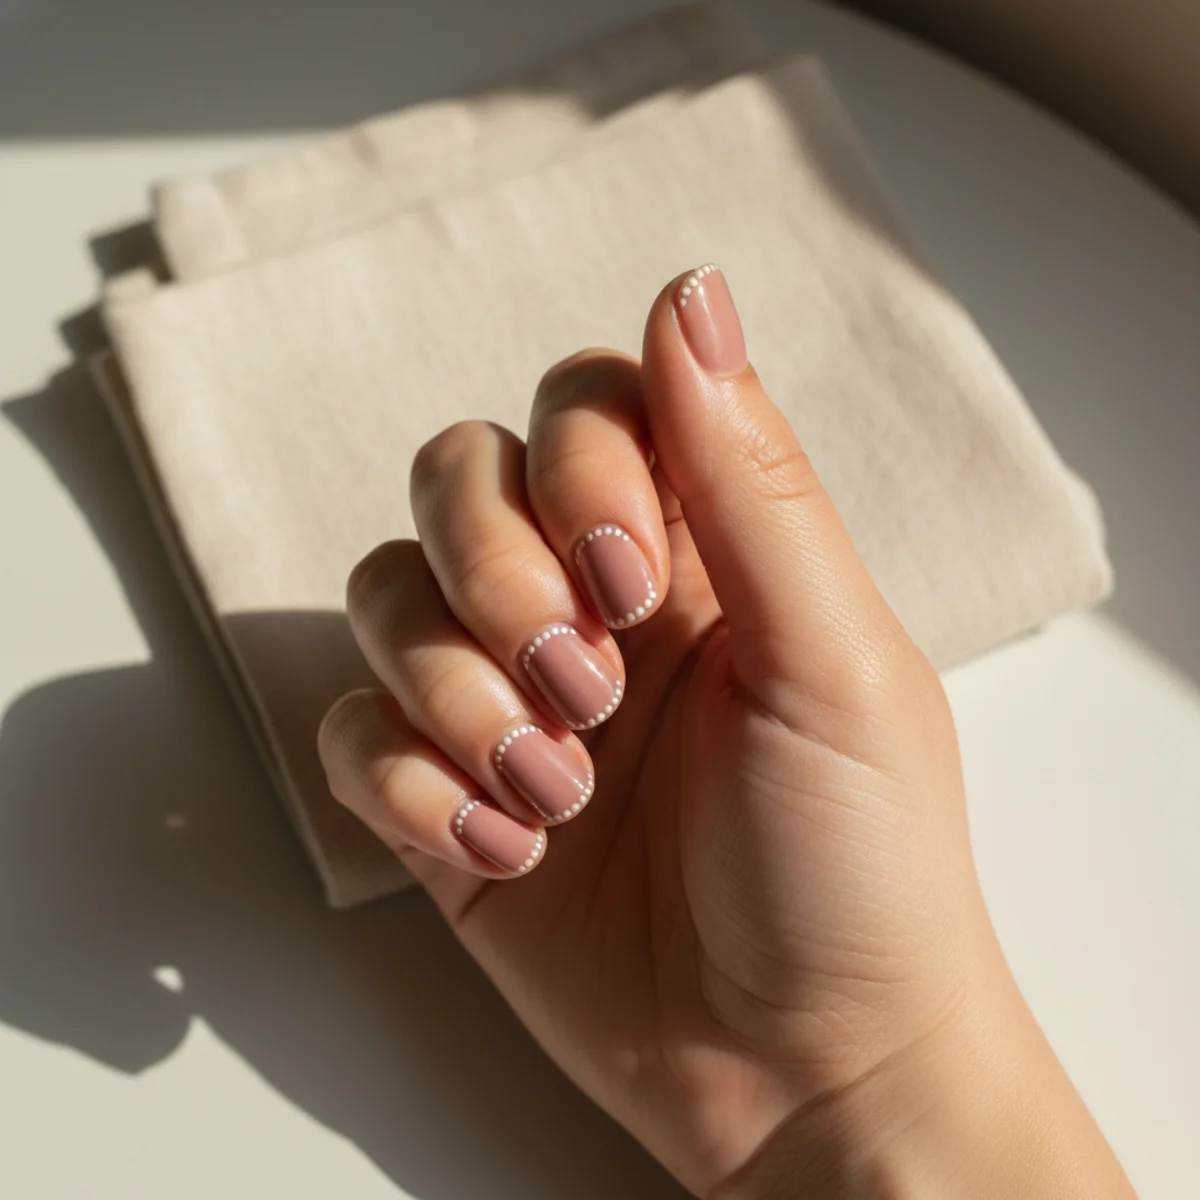
At the base of this entry sits one mirror chrome stripe down the center of an otherwise sheer nail. What to watch on application: the chrome stripe is rubbed on after the surrounding nail cures — which photographs especially well in soft window light. Replace the no-wipe top coat with a matte top for an unexpected variant — but never on chrome.
38. Animated Outline
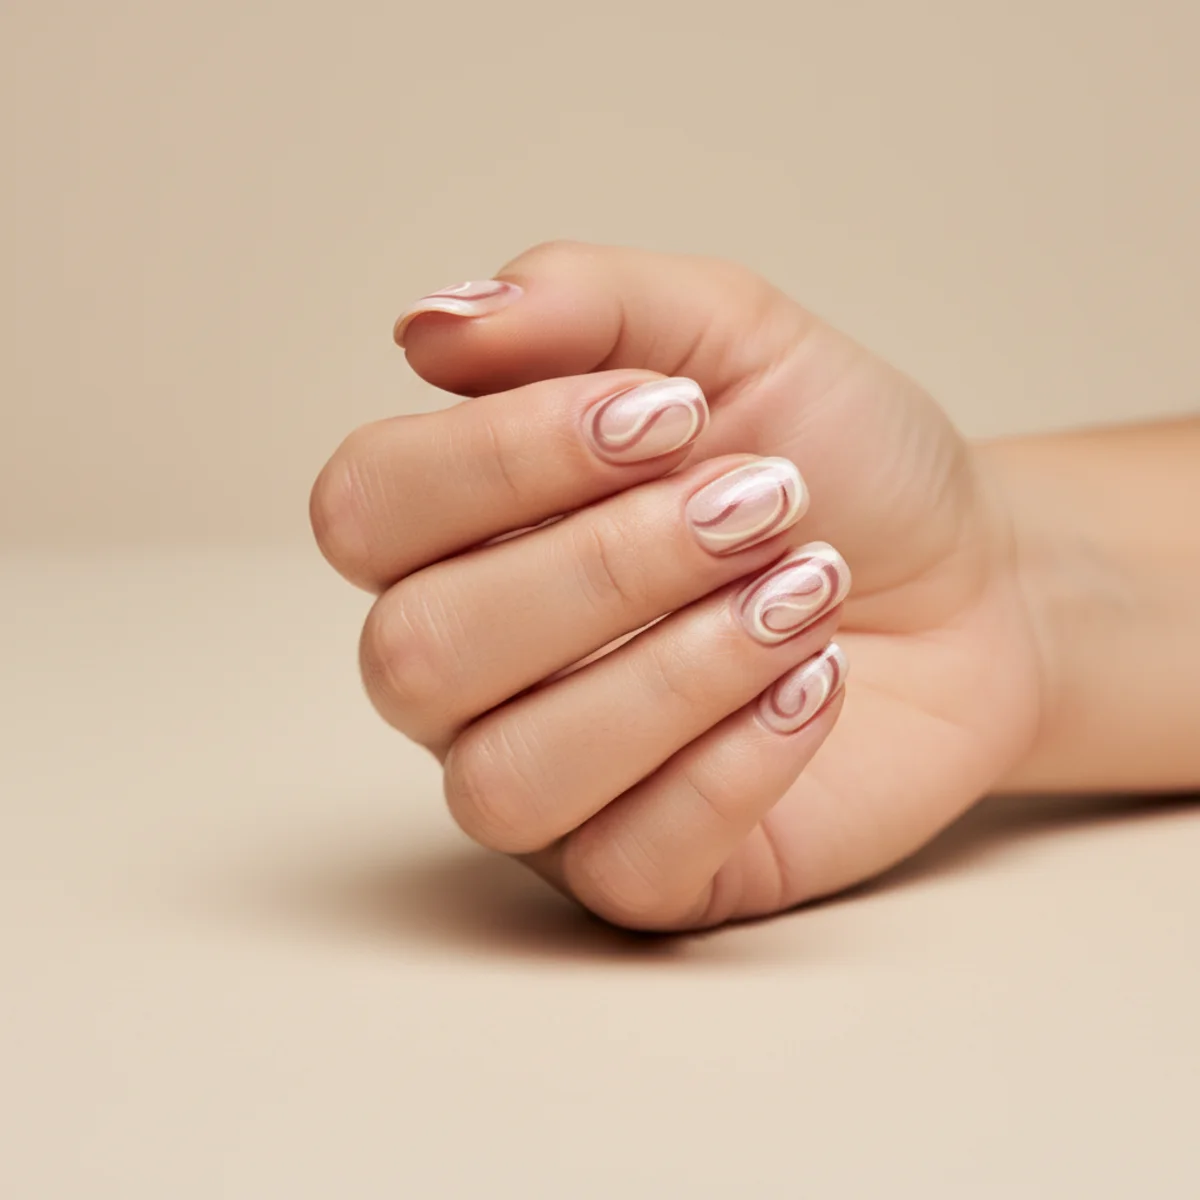
This look starts with a thin black outline traced around each nail for a comic effect. The single thing most home attempts get wrong: the outline must be perfectly even — use a striping brush — and it's the detail that makes this design read editorial rather than novelty. Photographs best on a textured surface like raw linen, unglazed ceramic, or a single thread of cream silk.
39. Crystal Halo Around Cuticle
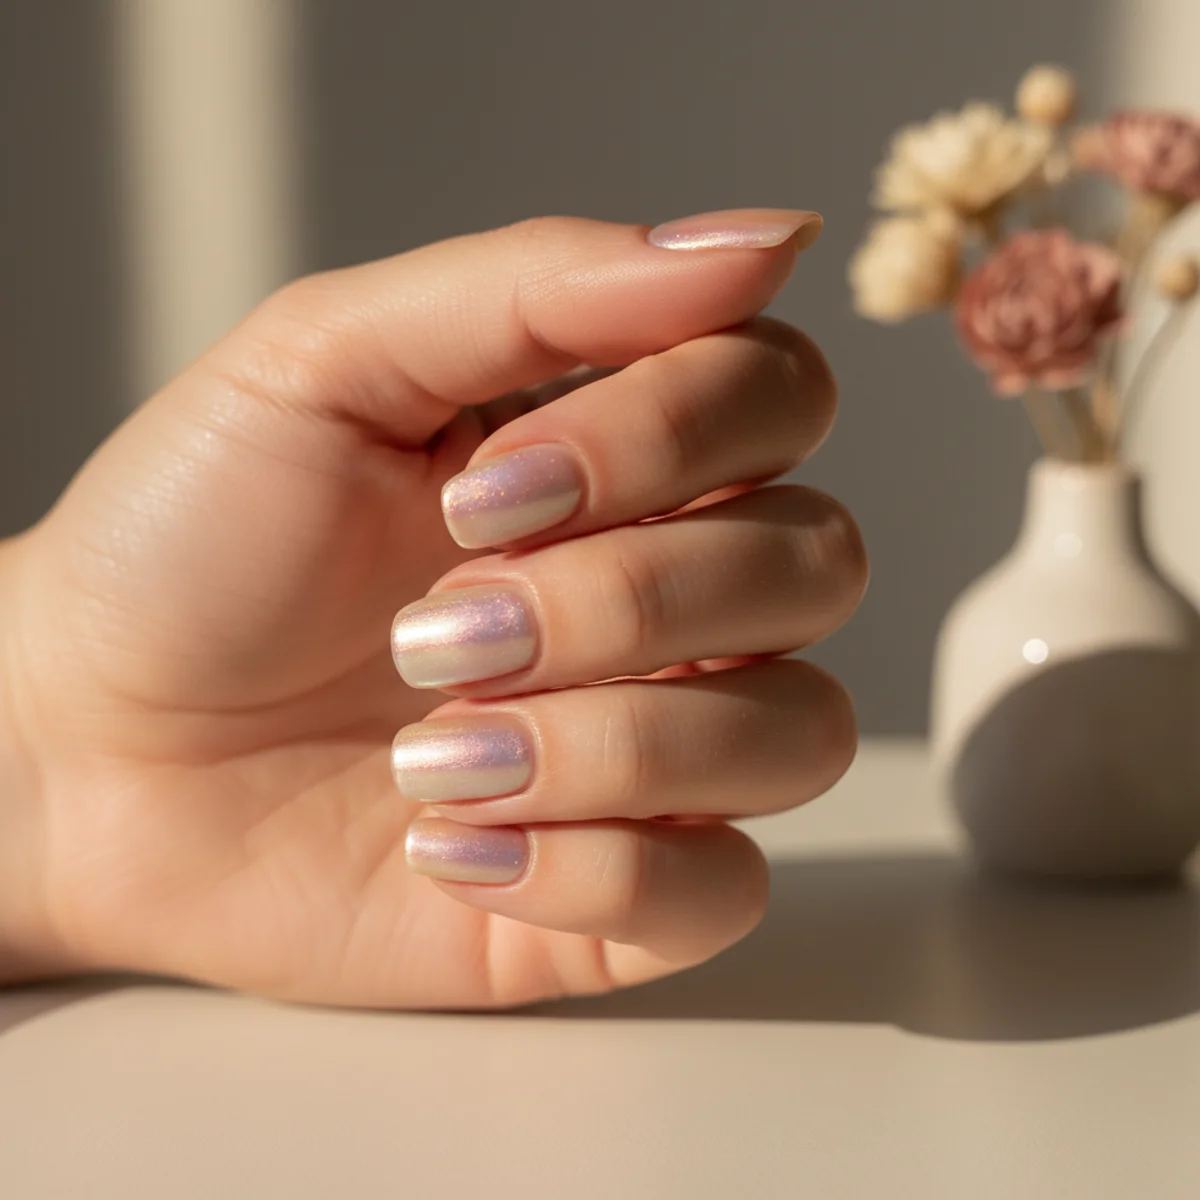
At the base of this entry sits a half-ring of crystals following the cuticle curve. Where this design lives or dies: five crystals max — more reads costume — which holds up at the close-up Pinterest crop better than most. Replace the no-wipe top coat with a matte top for an unexpected variant — but never on chrome.
40. Negative Space Half French
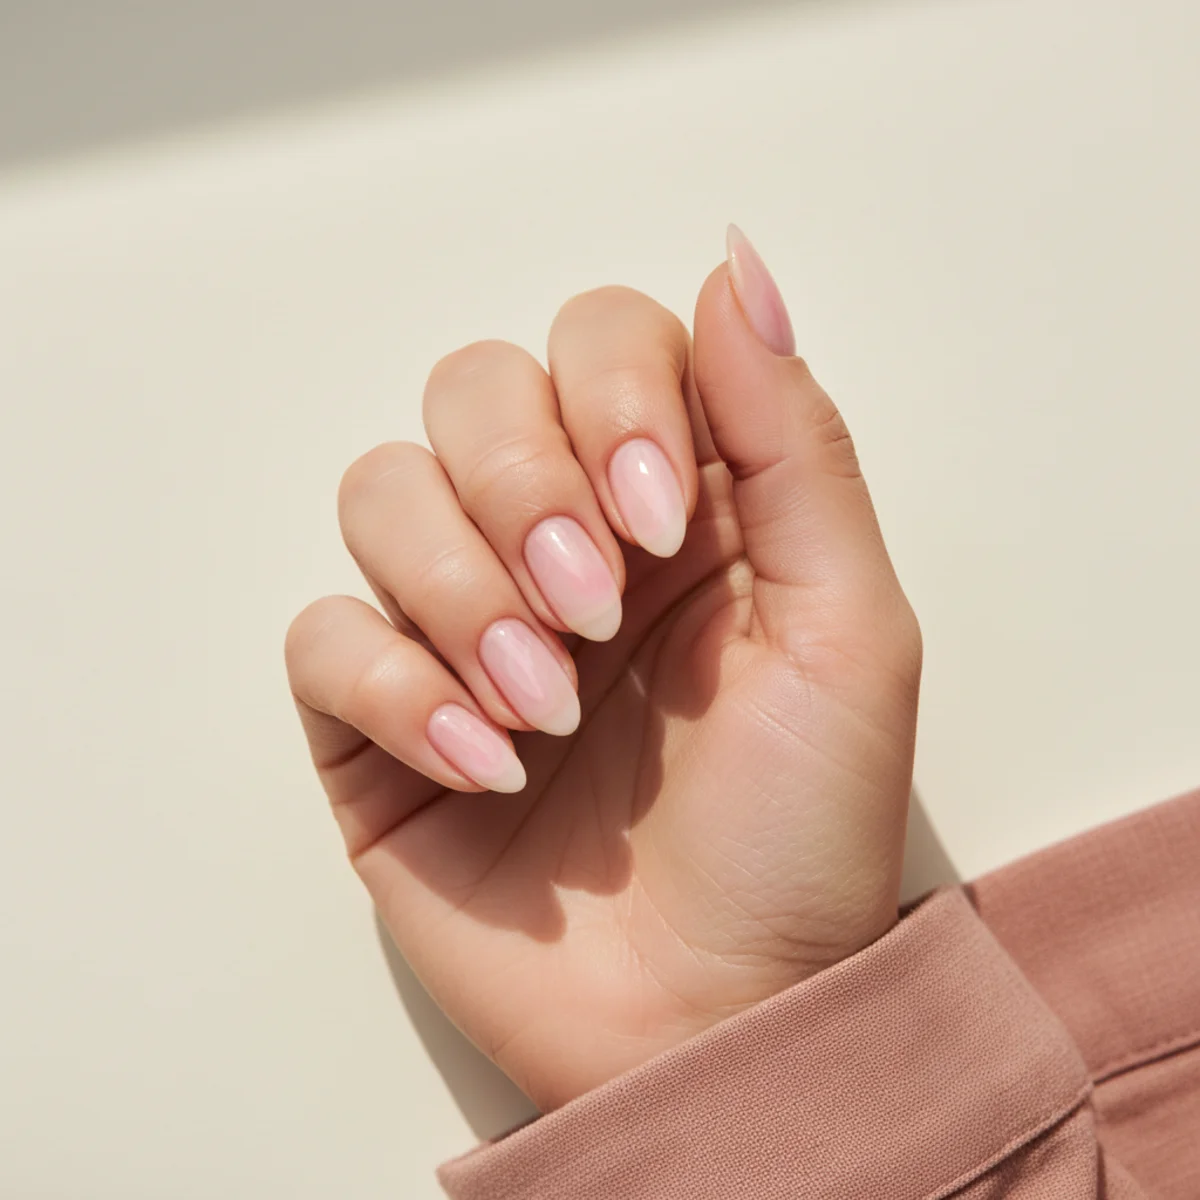
This look starts with clear nail with white painted only on the bottom half. What matters in execution: the curve mirrors the smile line, inverted — which is the move that separates this look from a salon copy. Looks especially well-considered next to a vintage watch face or a single thin chain bracelet.
How to Choose and Wear These Cool Nail Design Ideas
Picking from cool nail design ideas is easier when you know a few basics. These simple tips help any design last longer and look cleaner, whether you visit a salon or do your nails at home.
- Match the color to the moment. Soft, sheer shades read calm and work anywhere, including the office. Bright and chrome finishes pop in photos and at night. Think about where your hands will be before you commit.
- Use thin coats, not thick ones. Two thin coats always look smoother and dry faster than one thick coat. Thick polish stays gooey, dents easily, and peels off in sheets. Be patient and let each layer set.
- Test a tricky design on one nail first. If a look feels hard, try it on a single accent nail before doing all ten. One detailed nail next to simple ones often looks more modern than a busy full set anyway.
- Pick the shape that fits your hands. Longer shapes like almond and coffin make fingers look slimmer. Shorter shapes like square and round are easier to keep up and snag less. Choose what fits your daily life, not just the photo.
If you are still deciding on a direction, our guide to nail design ideas is the best place to go deeper. Pair anything here with ideas from cute nail design ideas when you want to mix two looks. And for a different mood entirely, the looks in unique nail design ideas make an easy next step.
Final Thoughts
The looks above prove that cool nail design ideas can be as quiet or as bold as you want. Start with one design that feels like you, keep your prep simple and your coats thin, and build from there. Beautiful nails are far more about clean technique than expensive tools.
Where we draw the line
The biggest mistake we see at home is over-buffing the natural nail before a gel base. Use a pH bonder instead. Over-buffing thins the plate and shows up as ridges six months later.
For broader trend context, Harper's Bazaar's beauty desk runs deeper reporting on manicure trends throughout 2026 — worth a read if you're tracking the year.
More to Explore from LuxeNailDiary
For the complete picture, our nail design ideas guide pulls every look in this category together in one place. From there you can branch into the related colors, shapes, and seasons that match the manicure you have in mind.

About Elena Marquez
Elena Marquez writes for LuxeNailDiary, citing real polishes, real techniques, and real manicurists in every guide — no fabricated quotes, ratings, or testimonials. Just photographed designs, organized properly.
Frequently Asked Questions
What polish brands do you recommend most?
Across the looks in this guide, the brands that come up most are Essie (for milky and sheer bases), OPI (for saturated classics), Olive & June (for home application), Apres (for Gel-X tips), Aprilla (for magnetic cat eye and velvet finishes), and Mooncat (for chromes and shifted colors).
How do I make a manicure photograph well for Pinterest?
Soft north-window light, eye-level angle, hand resting on a textured surface like raw linen or cream ceramic, and one deliberate imperfection like a stray cuticle or single chipped edge. Salon ring-light photos always read flat on Pinterest.
Can I do these cool nail design ideas at home?
About half of the designs below are realistic at home with an LED lamp, a striping brush, and one or two builder-gel basics. The 3D and encapsulated looks need a manicurist with sculpting experience. We've called out which is which in the design notes.
How long does this manicure typically last?
Gel and Gel-X versions of the looks below hold for two to three weeks without lifting. Builder-gel bases add another week. Regular nail polish versions hold for four to six days with a top coat refresh on day three.
Do these designs work for short nails?
Many of them do — anything described as a single-finger accent, a micro French, or a sheer wash works at natural short length. Anything with sculpted 3D detail or full-nail floral painting needs at least a Gel-X extension to land properly.
You Might Also Like

The 2026 Nail Color Design Ideas Guide — Every Hue Worth Wearing
The complete nail color design ideas guide for 2026 — milky pinks to oxblood reds, every shade photographed and paired with real…
Read Article
The Seasonal Nail Design Ideas Guide — All Four Seasons For 2026
The complete seasonal nail design ideas guide for 2026 — forty looks across spring, summer, fall, and winter. Photographed and d…
Read Article